Free Easter Bunny Crochet Pattern with Carrot Hat
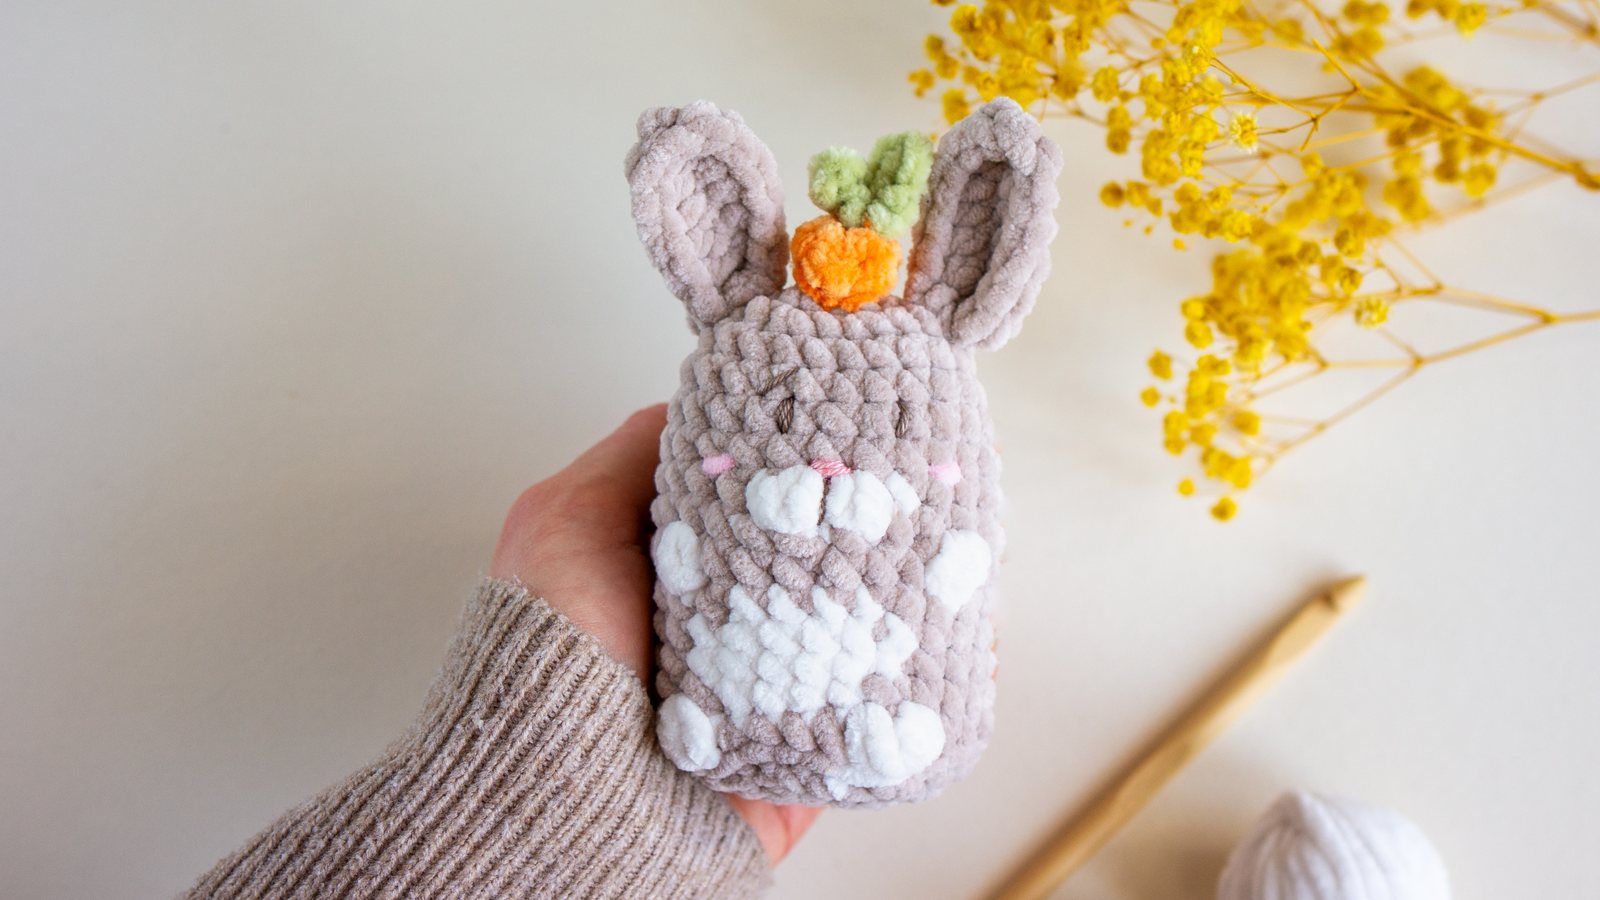
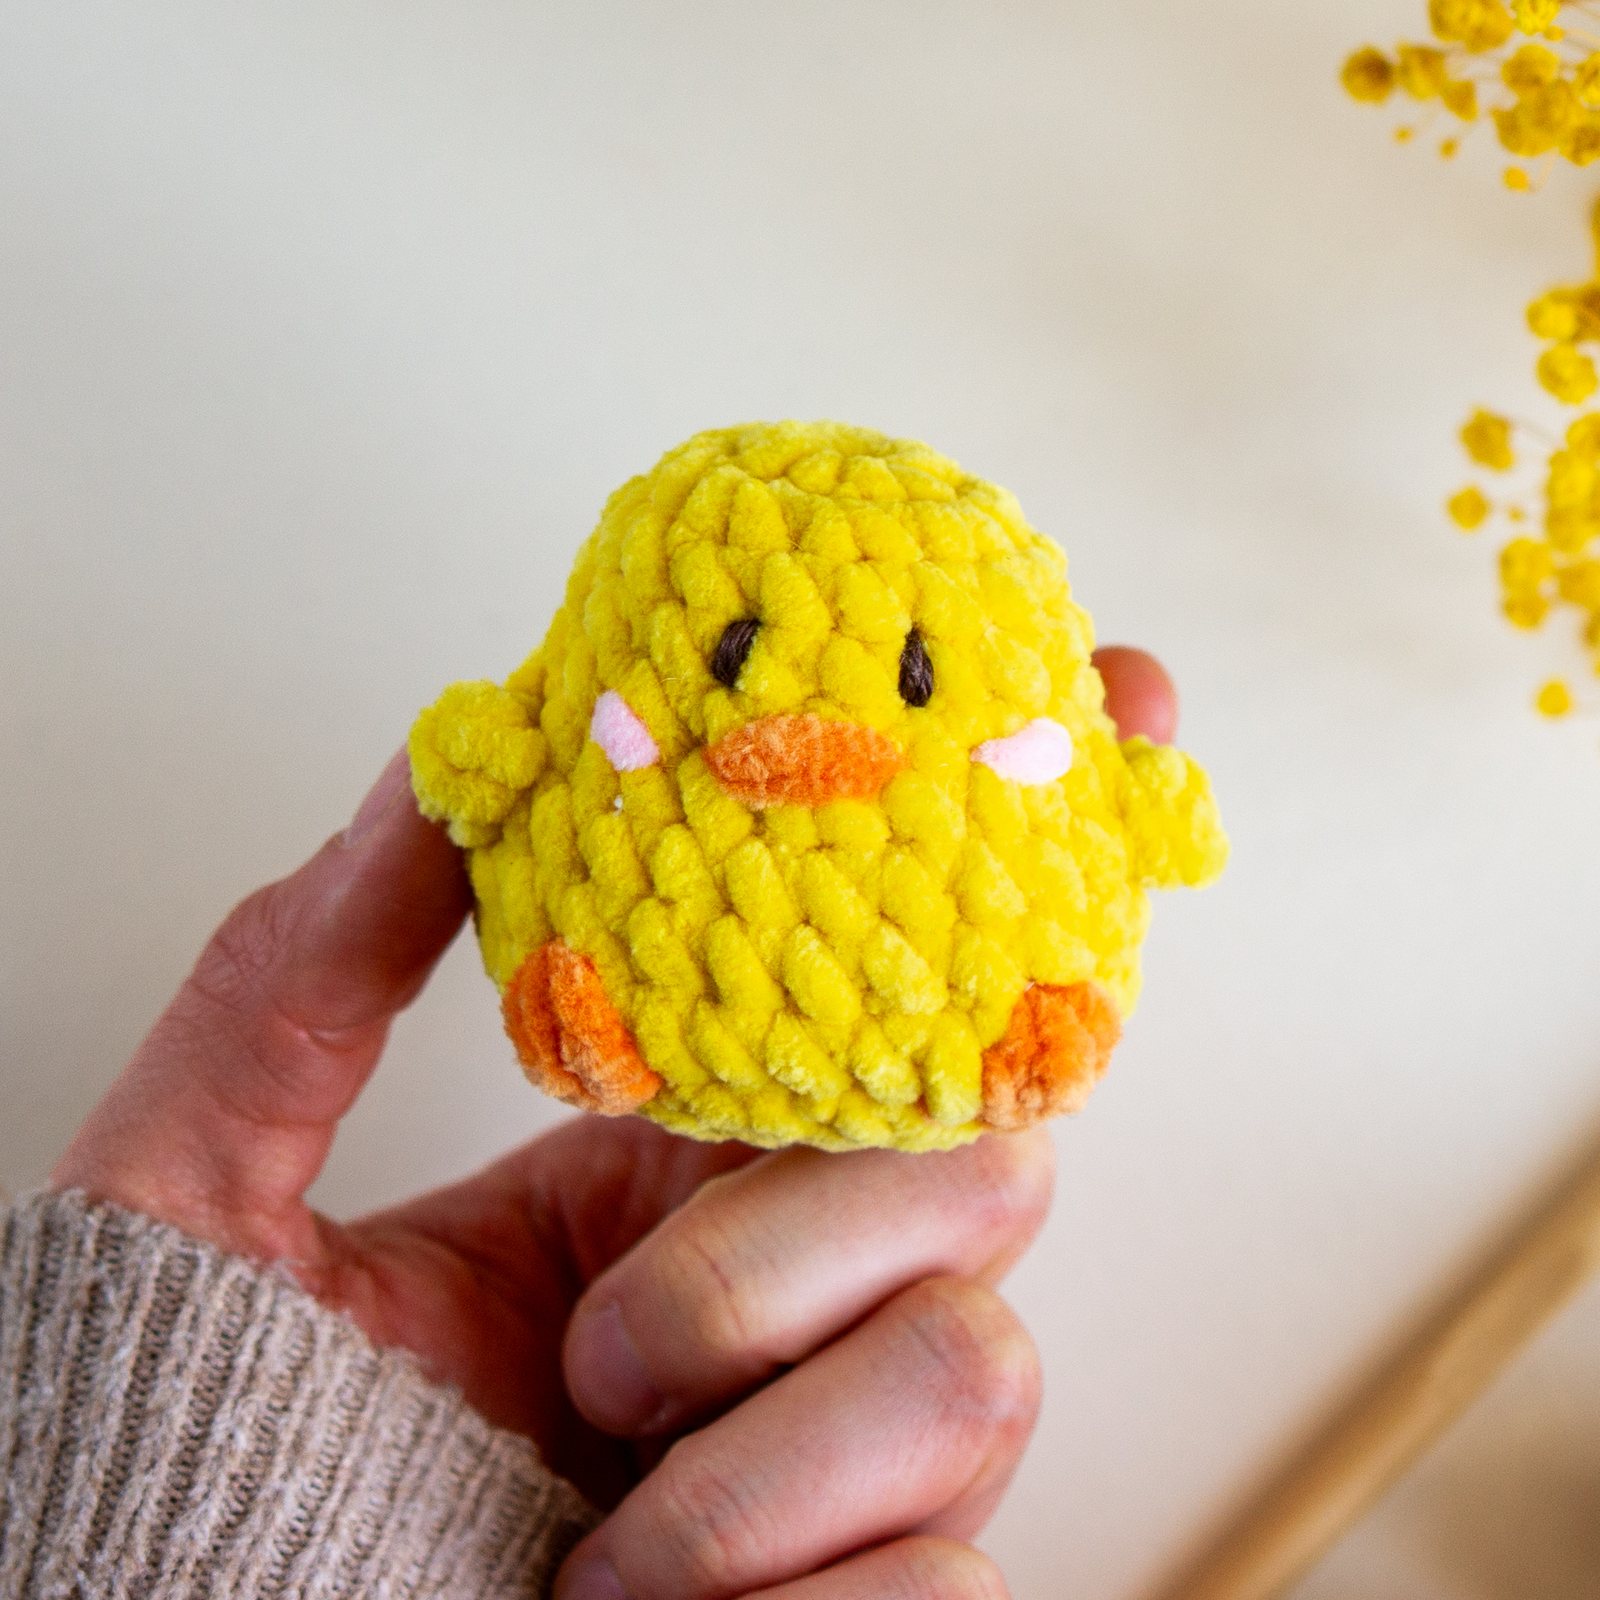
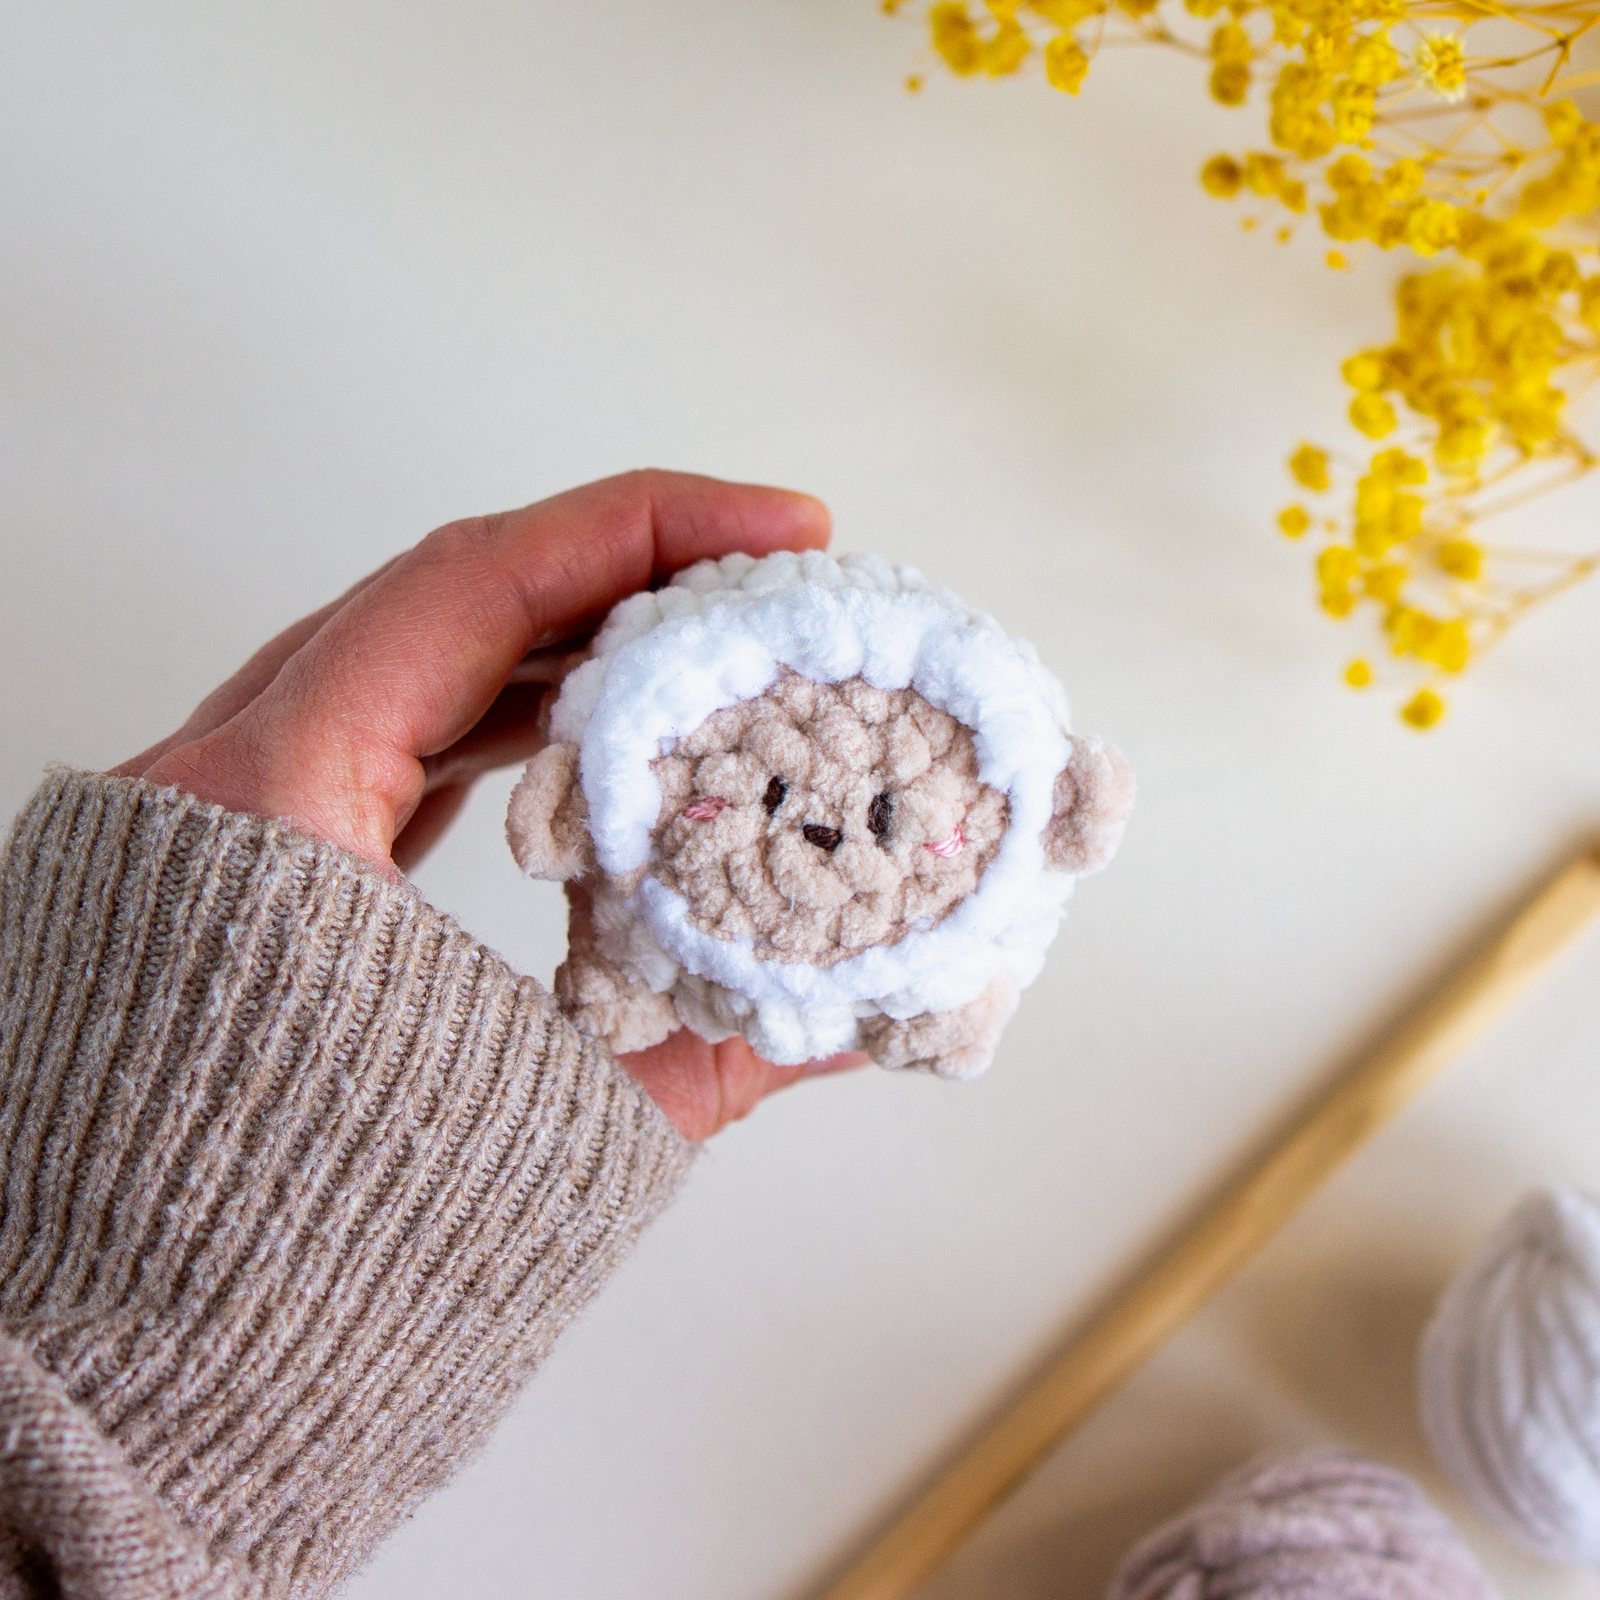
I'm so happy to share this free Easter Bunny pattern with you! This little bunny with his carrot hat is the star of my Easter Bundle. I just love how he turned out. He's chunkier and taller than the chick and sheep, but still very quick to make with chenille yarn.
The finished bunny is about 11.5 cm (4.5 inches) tall - he makes a wonderful Easter decoration or handmade gift!
If you’d prefer a beautifully formatted and easy-to-read PDF version, you can purchase the 3-in-1 Easter Bundle in my Etsy shop
You can follow along with a full video tutorial available on YouTube.
Materials
- Crochet hook: 4.5 mm
- Brown and dark gray thread (for embroidering face details)
- Pink yarn (for blush)
- Needles for sewing
- Fiberfill
- Yarn:
- - Himalaya Dolphin Baby: 357 – Light Gray
- - YarnArt Dolce: 745 – Ecru
- - YarnArt Dolce: 853 – Orange (for carrot)
- - Himalaya Dolphin Baby: 359 – Light Green (for carrot leaves)
Abbreviations
- ch - chain
- slst - slip stitch
- sc - single crochet
- inc - increase (2 sc in one stitch)
- inc3 - 3 sc in one stitch
- dec - decrease (sc 2 stitches together)
- hdc - half double crochet
- dc - double crochet
- 2dc-bobble / 3dc-bobble / 4dc-bobble - bobble stitch made of 2/3/4 incomplete dc stitches
- BLO - back loops only
How to Make Bobble Stitch
- Yarn over, insert hook into next stitch
- Yarn over and pull through — 3 loops on hook
- Yarn over and pull through first 2 loops
- Repeat steps 1–3 in the same stitch two more times (4 loops on hook)
- Yarn over and pull through all 4 loops to close the bobble
Ears (make 2, begin with Gray)
- Rnd 1: 8ch, start in 2nd chain from hook: sc, 5hdc, inc3, work into the other side of the chain: 5hdc, sc [15]
Fasten off and leave long tail for sewing.
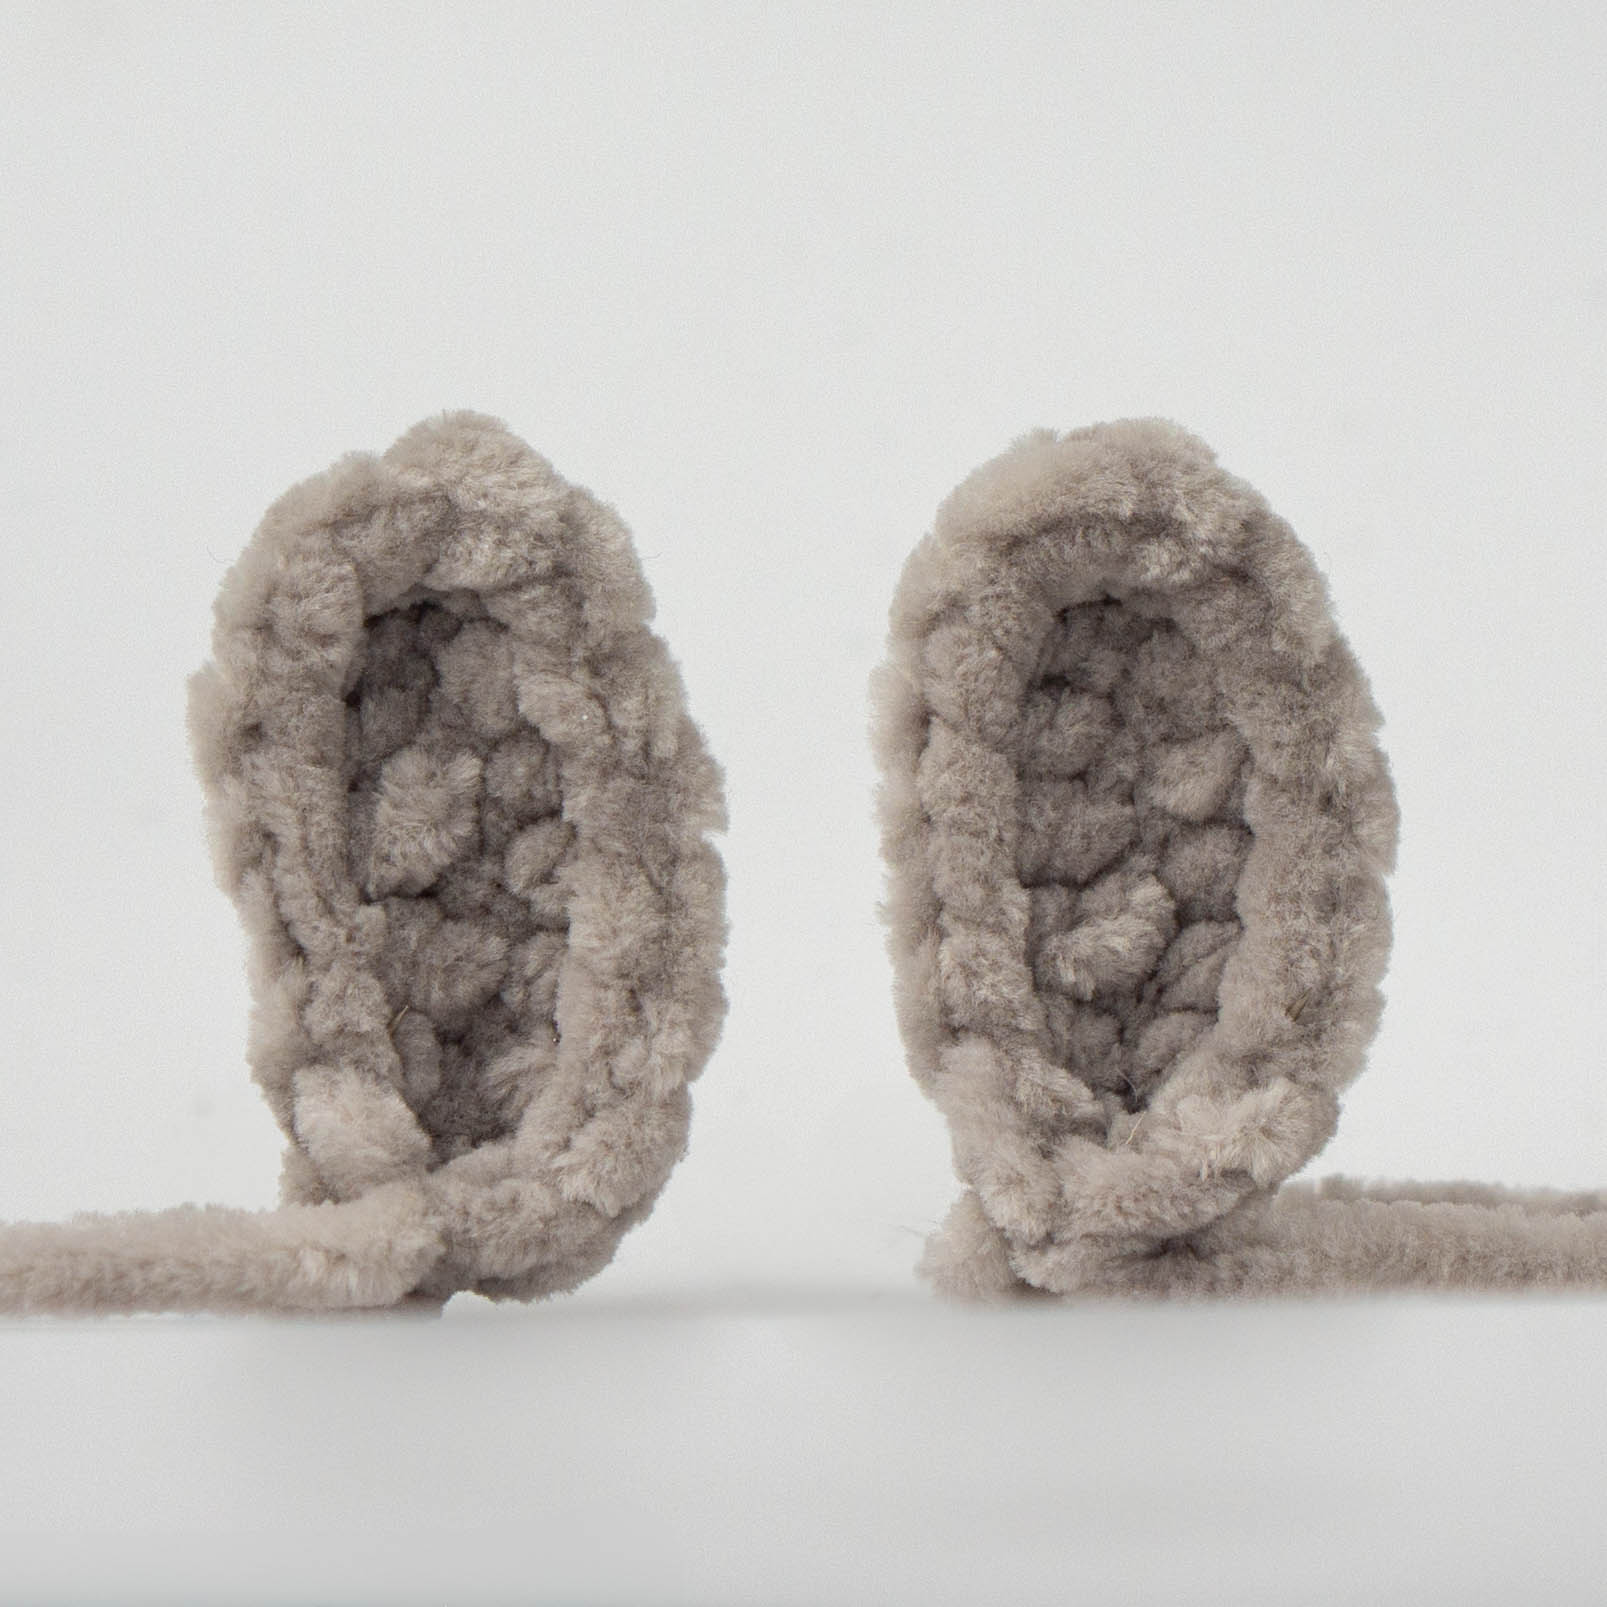 Pic. 1
Carrot Hat - Orange Part (begin with Orange)
- Rnd 1: 2ch, start in 2nd chain from hook: 6sc in one chain, slst in first stitch [6]
- Rnd 2: 1ch, (sc, dec)*2 [4]
Fasten off and leave long tail for sewing.
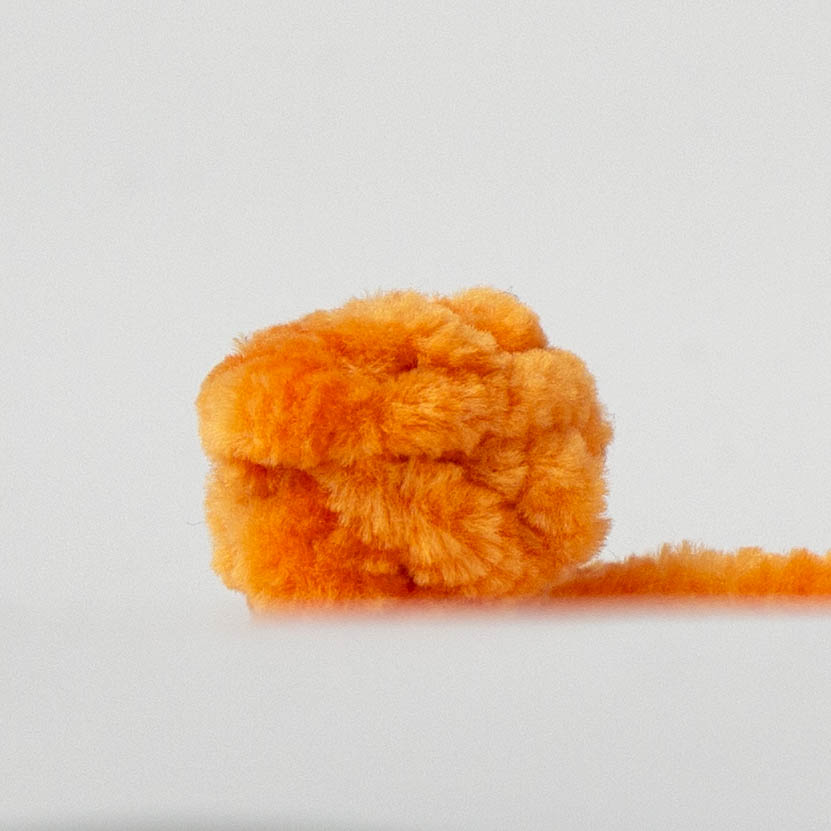 Pic. 2
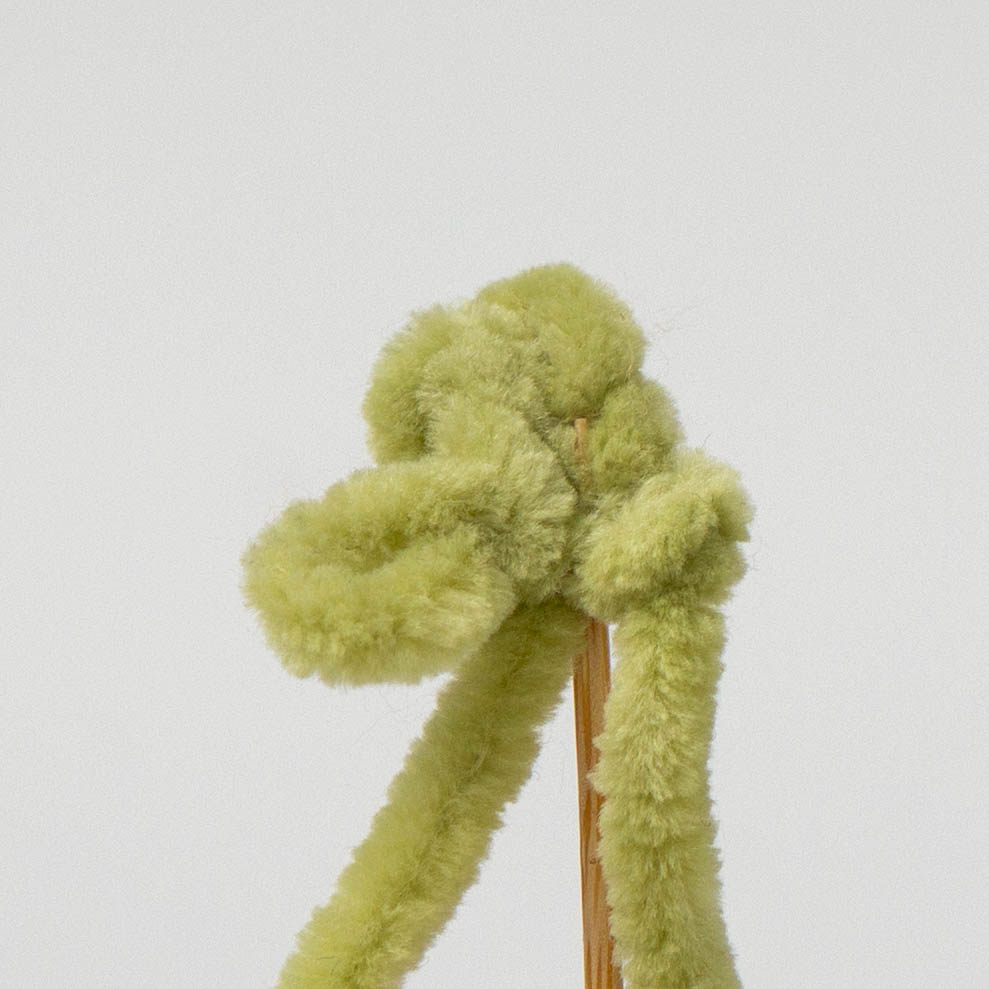
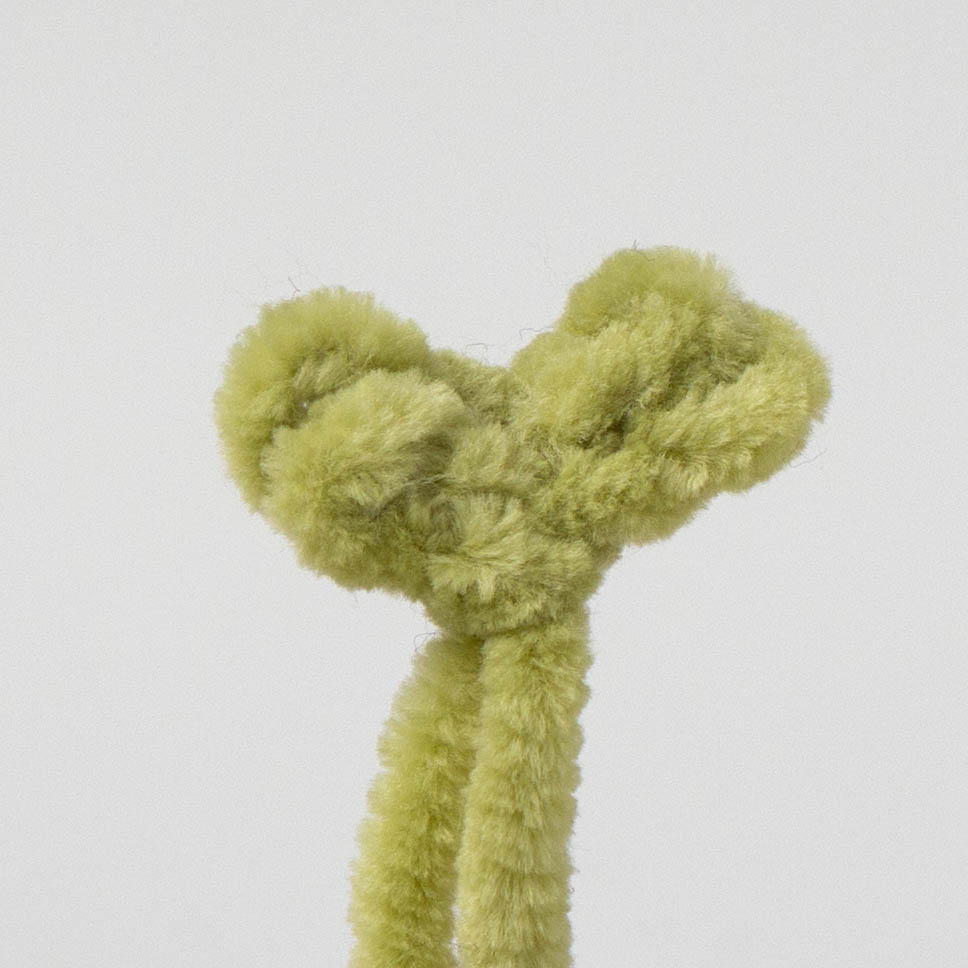
Carrot Hat - Leaves (begin with Green)
- Rnd 1: 3ch, start in 2nd chain from hook: 2slst [Pic. 3], make 3ch, start in 2nd chain from hook: 2slst, slst in 1st stitch [4] [Pic. 4]
Fasten off. Sew the leaves on top of the orange part as shown on photo [Pic. 5].
 Pic. 3
 Pic. 4
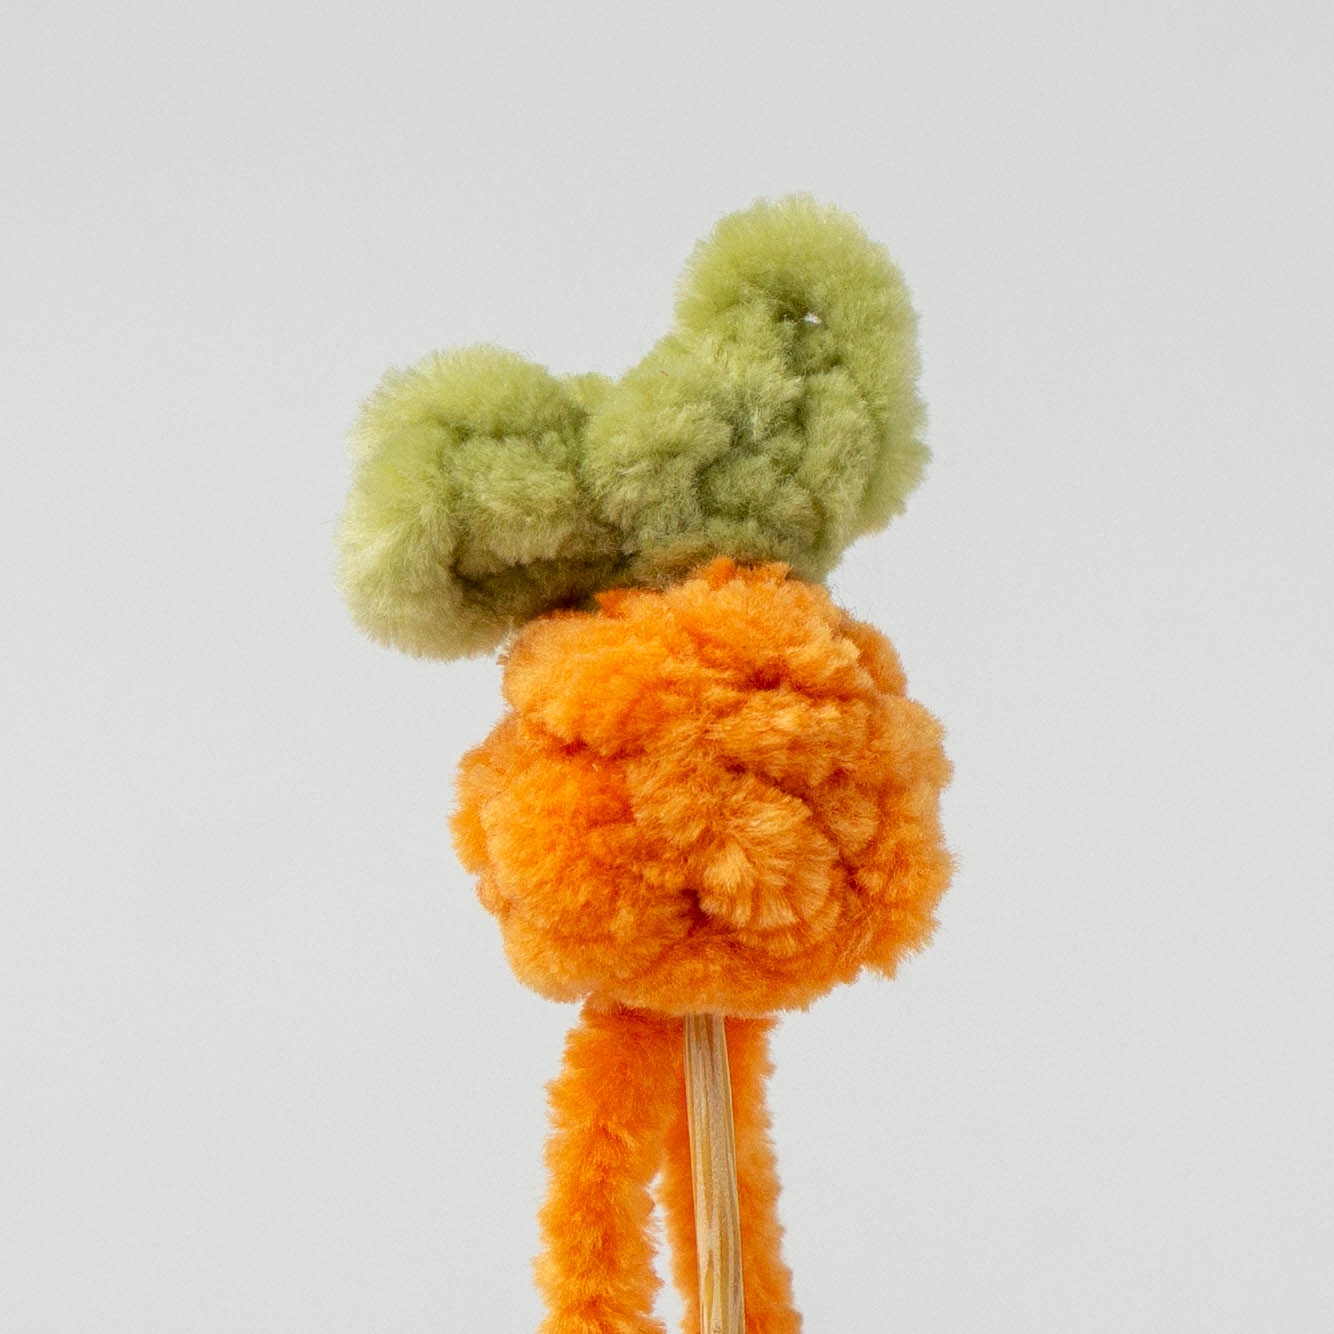 Pic. 5
Body (continuous spiral, begin with Gray)
- Rnd 1: 2ch, 8sc in 2nd chain from hook [8]
- Rnd 2: 8inc [16]
- Rnd 3: (sc, inc)*8 [24]
- Rnd 4–7: 24sc - 4 rounds [24]
For black use gray yarn. For blue use white yarn.
- Rnd 8: 6sc, sc, [2dc-bobble, slst], [2dc-bobble, slst], 15sc [24] [Pic. 6]
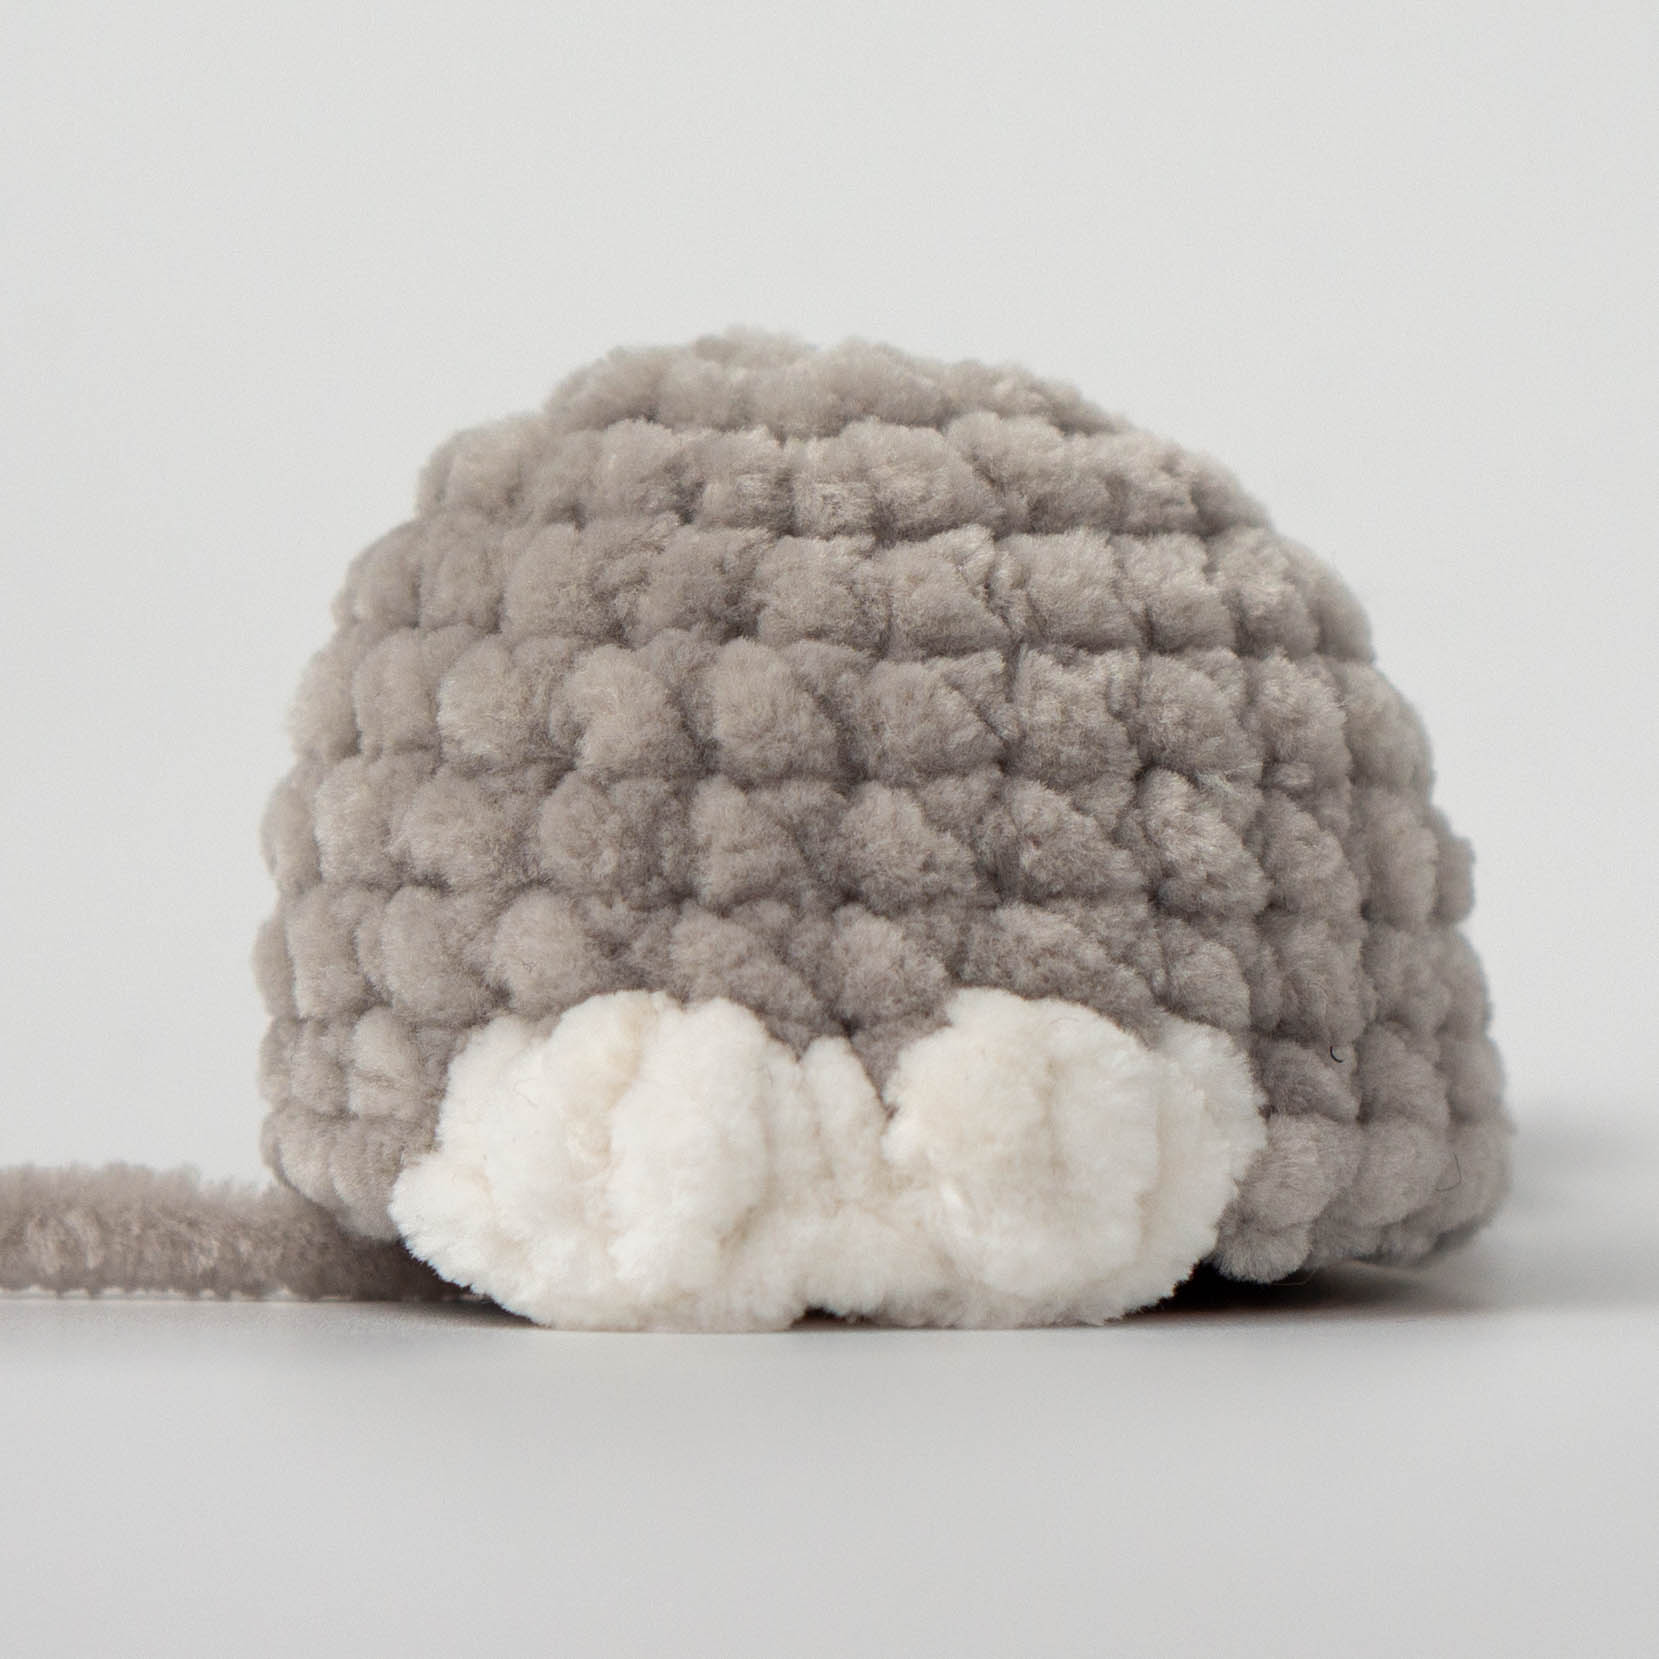 Pic. 6
- Rnd 9: (don't crochet in slst) 24sc [24]
- Rnd 10: 4sc, 3dc-bobble, 6sc, 3dc-bobble, 12sc [24] [Pic. 7]
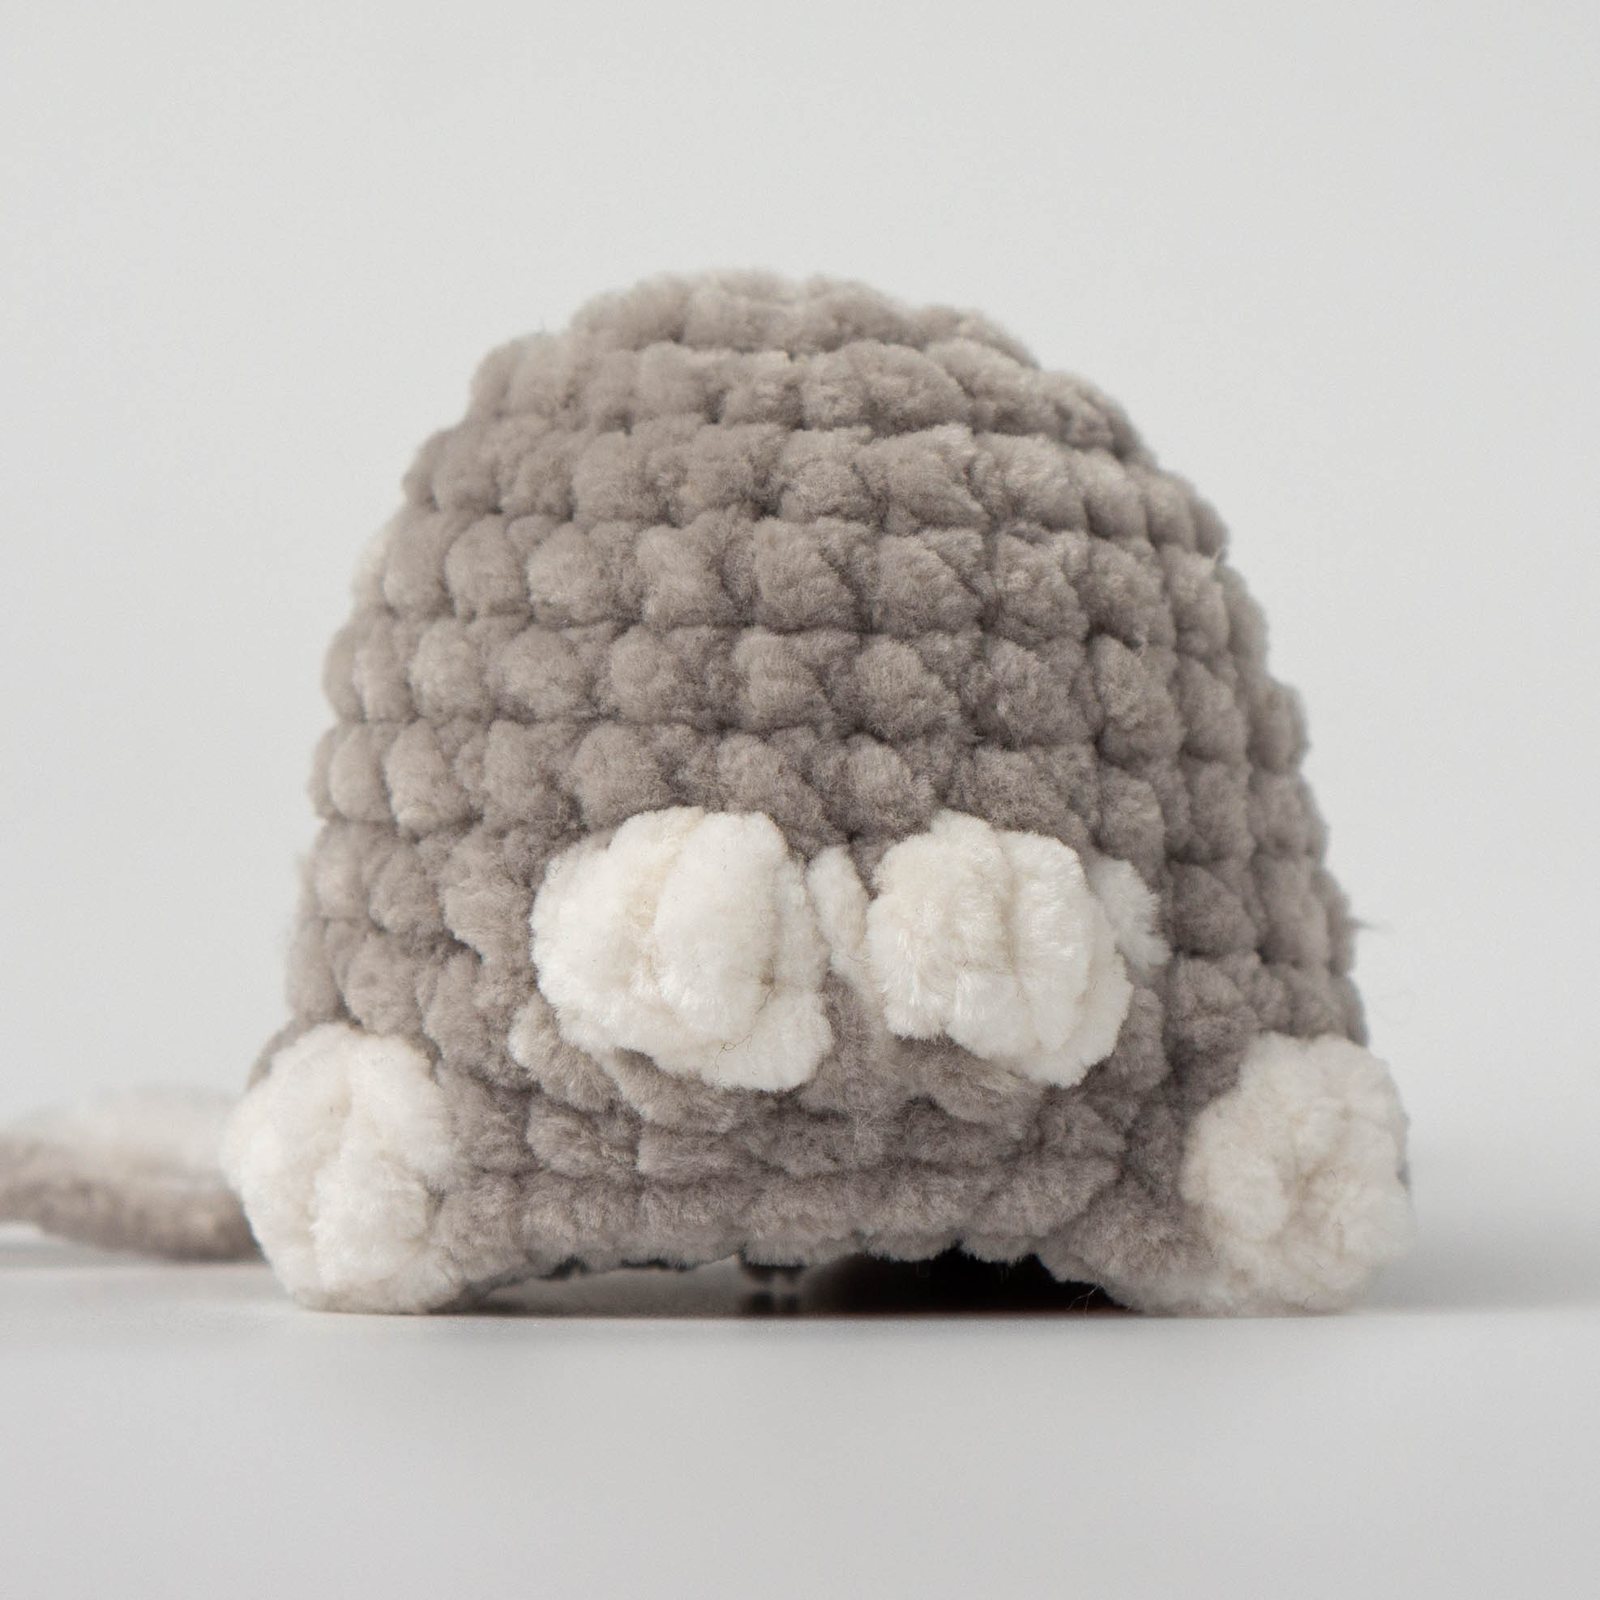 Pic. 7
- Rnd 11: 6sc, 4sc, 14sc [24]
- Rnd 12–13: 5sc, 6sc, 13sc [24]
- Rnd 14: 6sc, 4sc, 10sc, 4dc-bobble, 3sc [24] [Pic. 8]
In the next round make the 4dc-bobble across 2 stitches: make 2dc-bobble in the first stitch and finish the 4dc-bobble in the next stitch.
- Rnd 15: 4sc, 4dc-bobble, 4sc, 4dc-bobble, 12sc [22] [Pic. 9-10]
Don't fasten off.
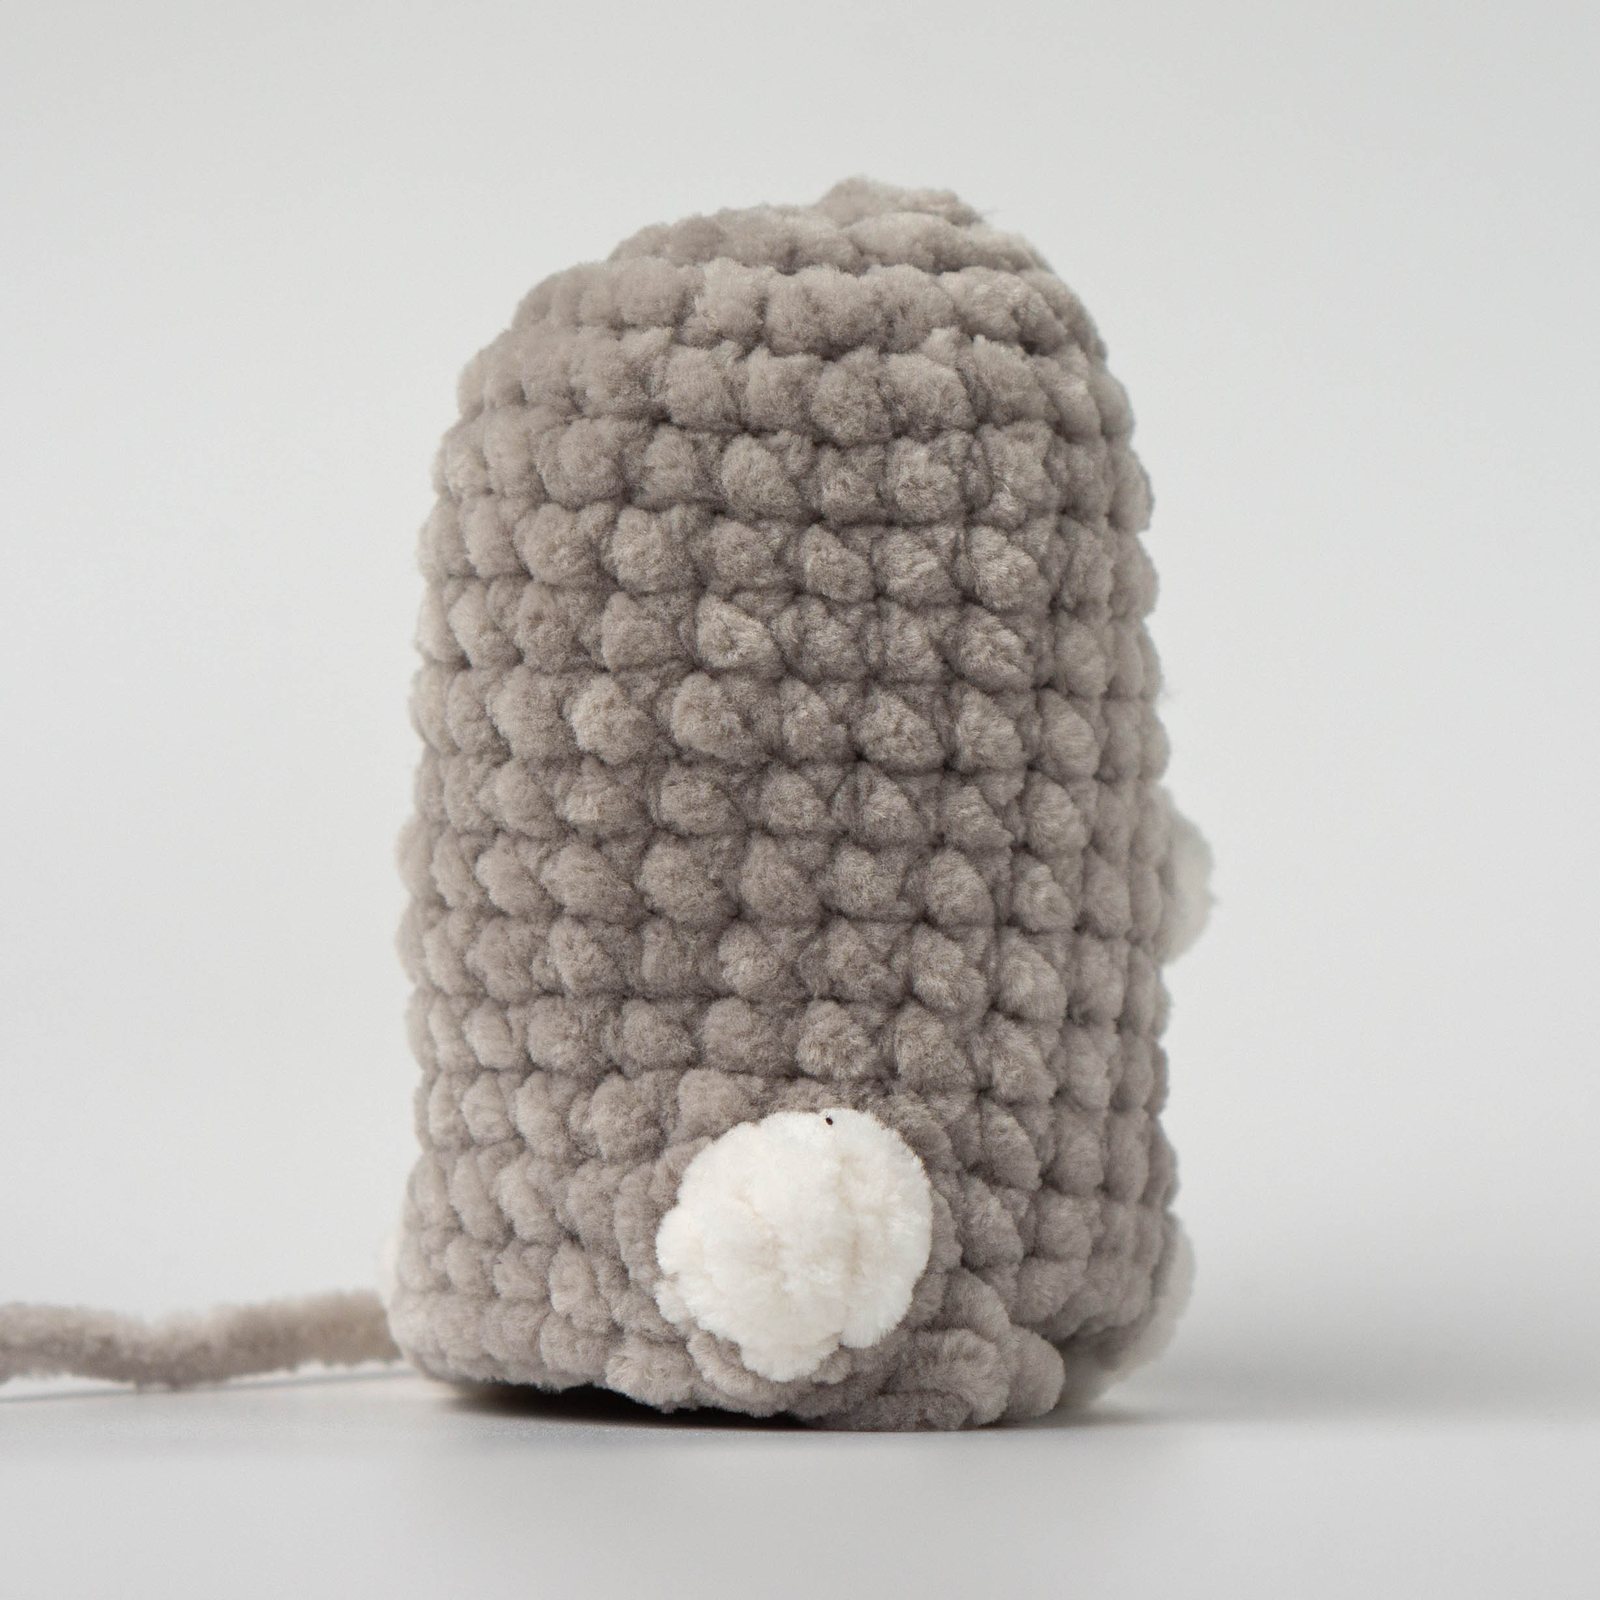 Pic. 8
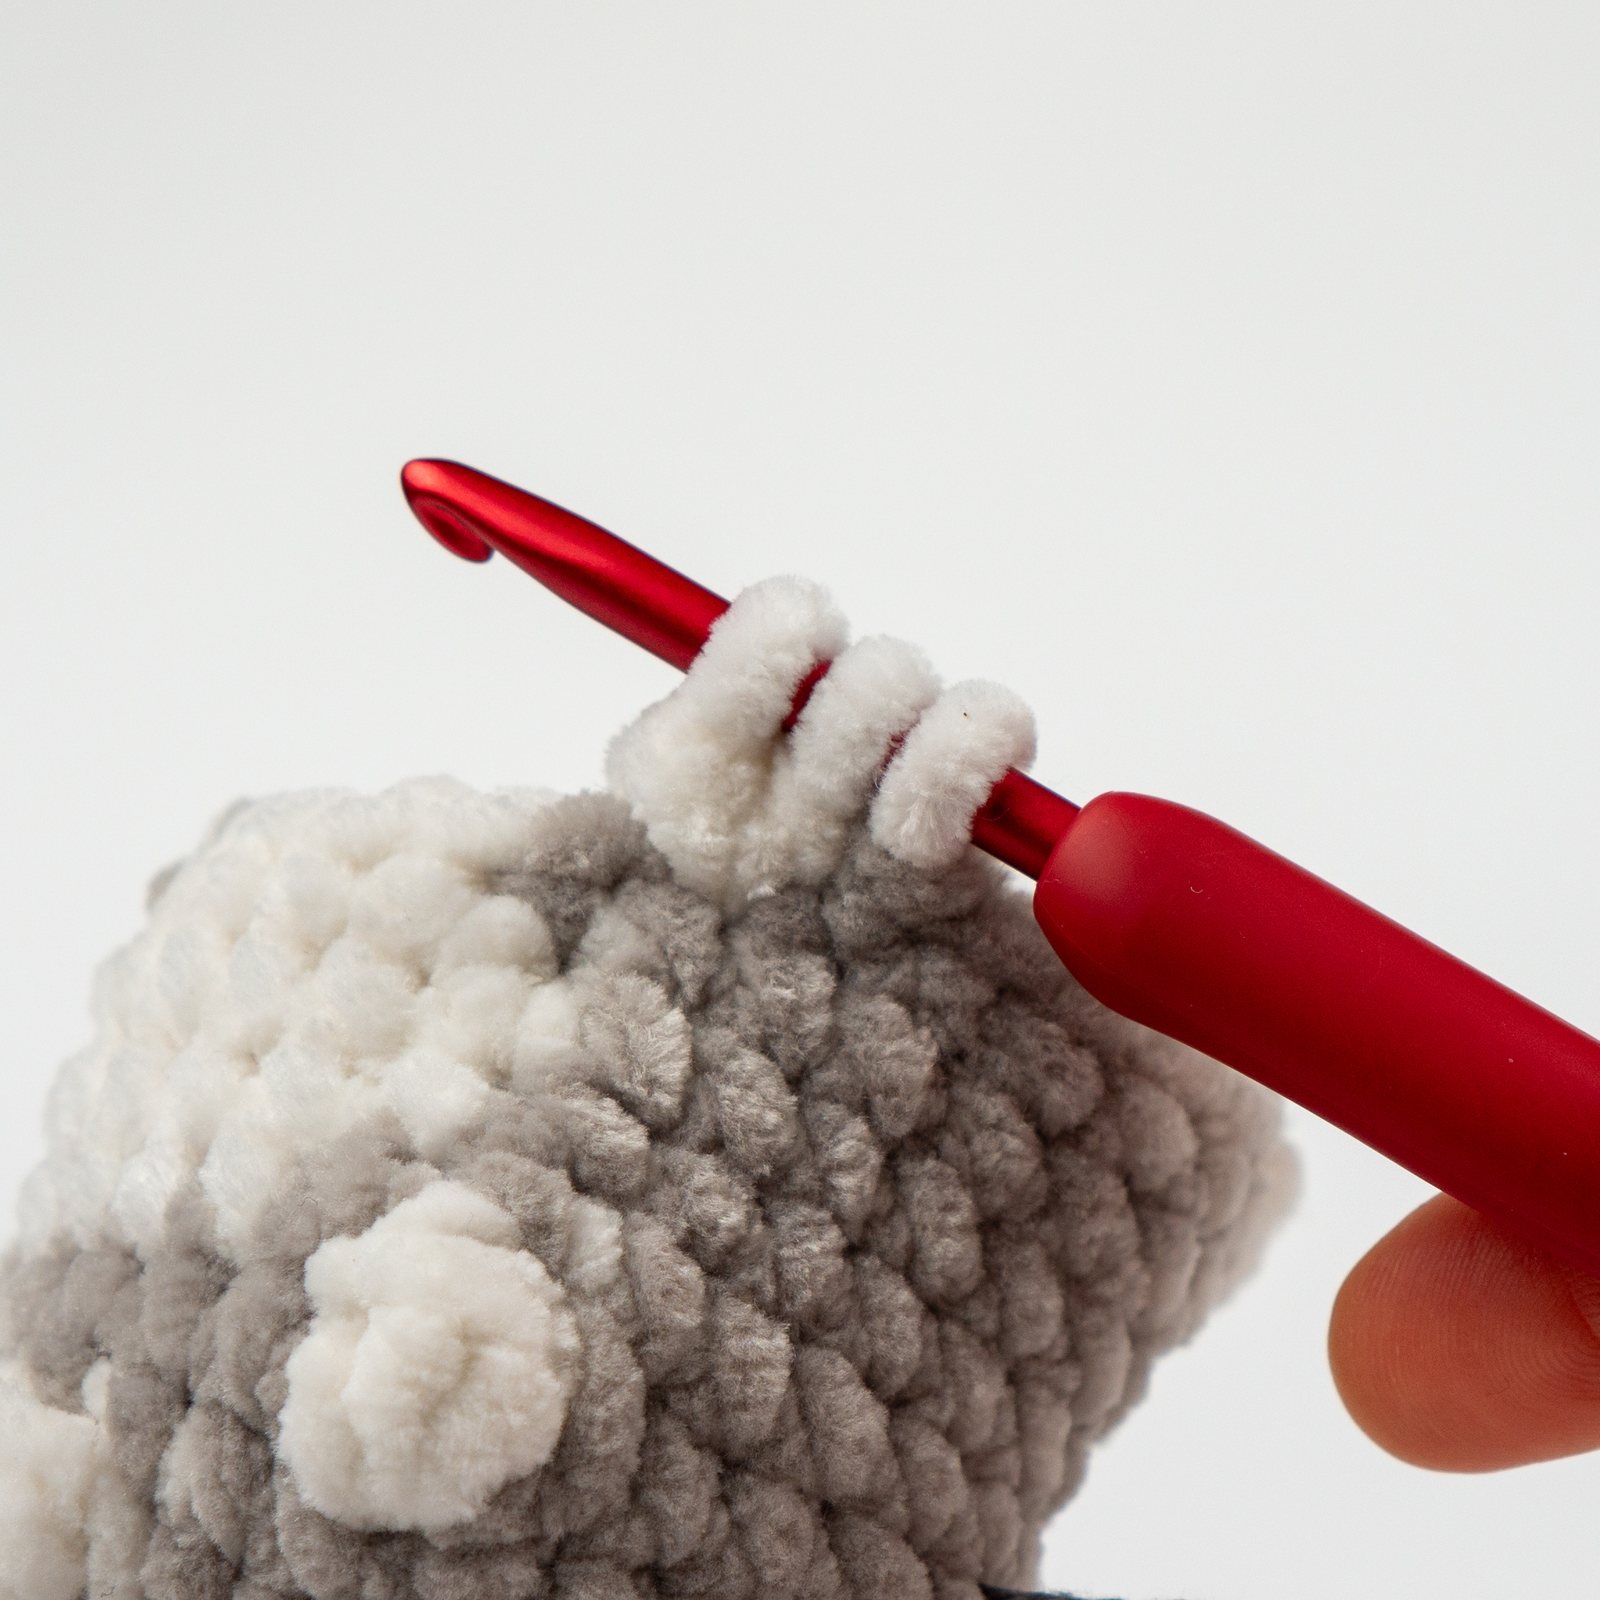 Pic. 9
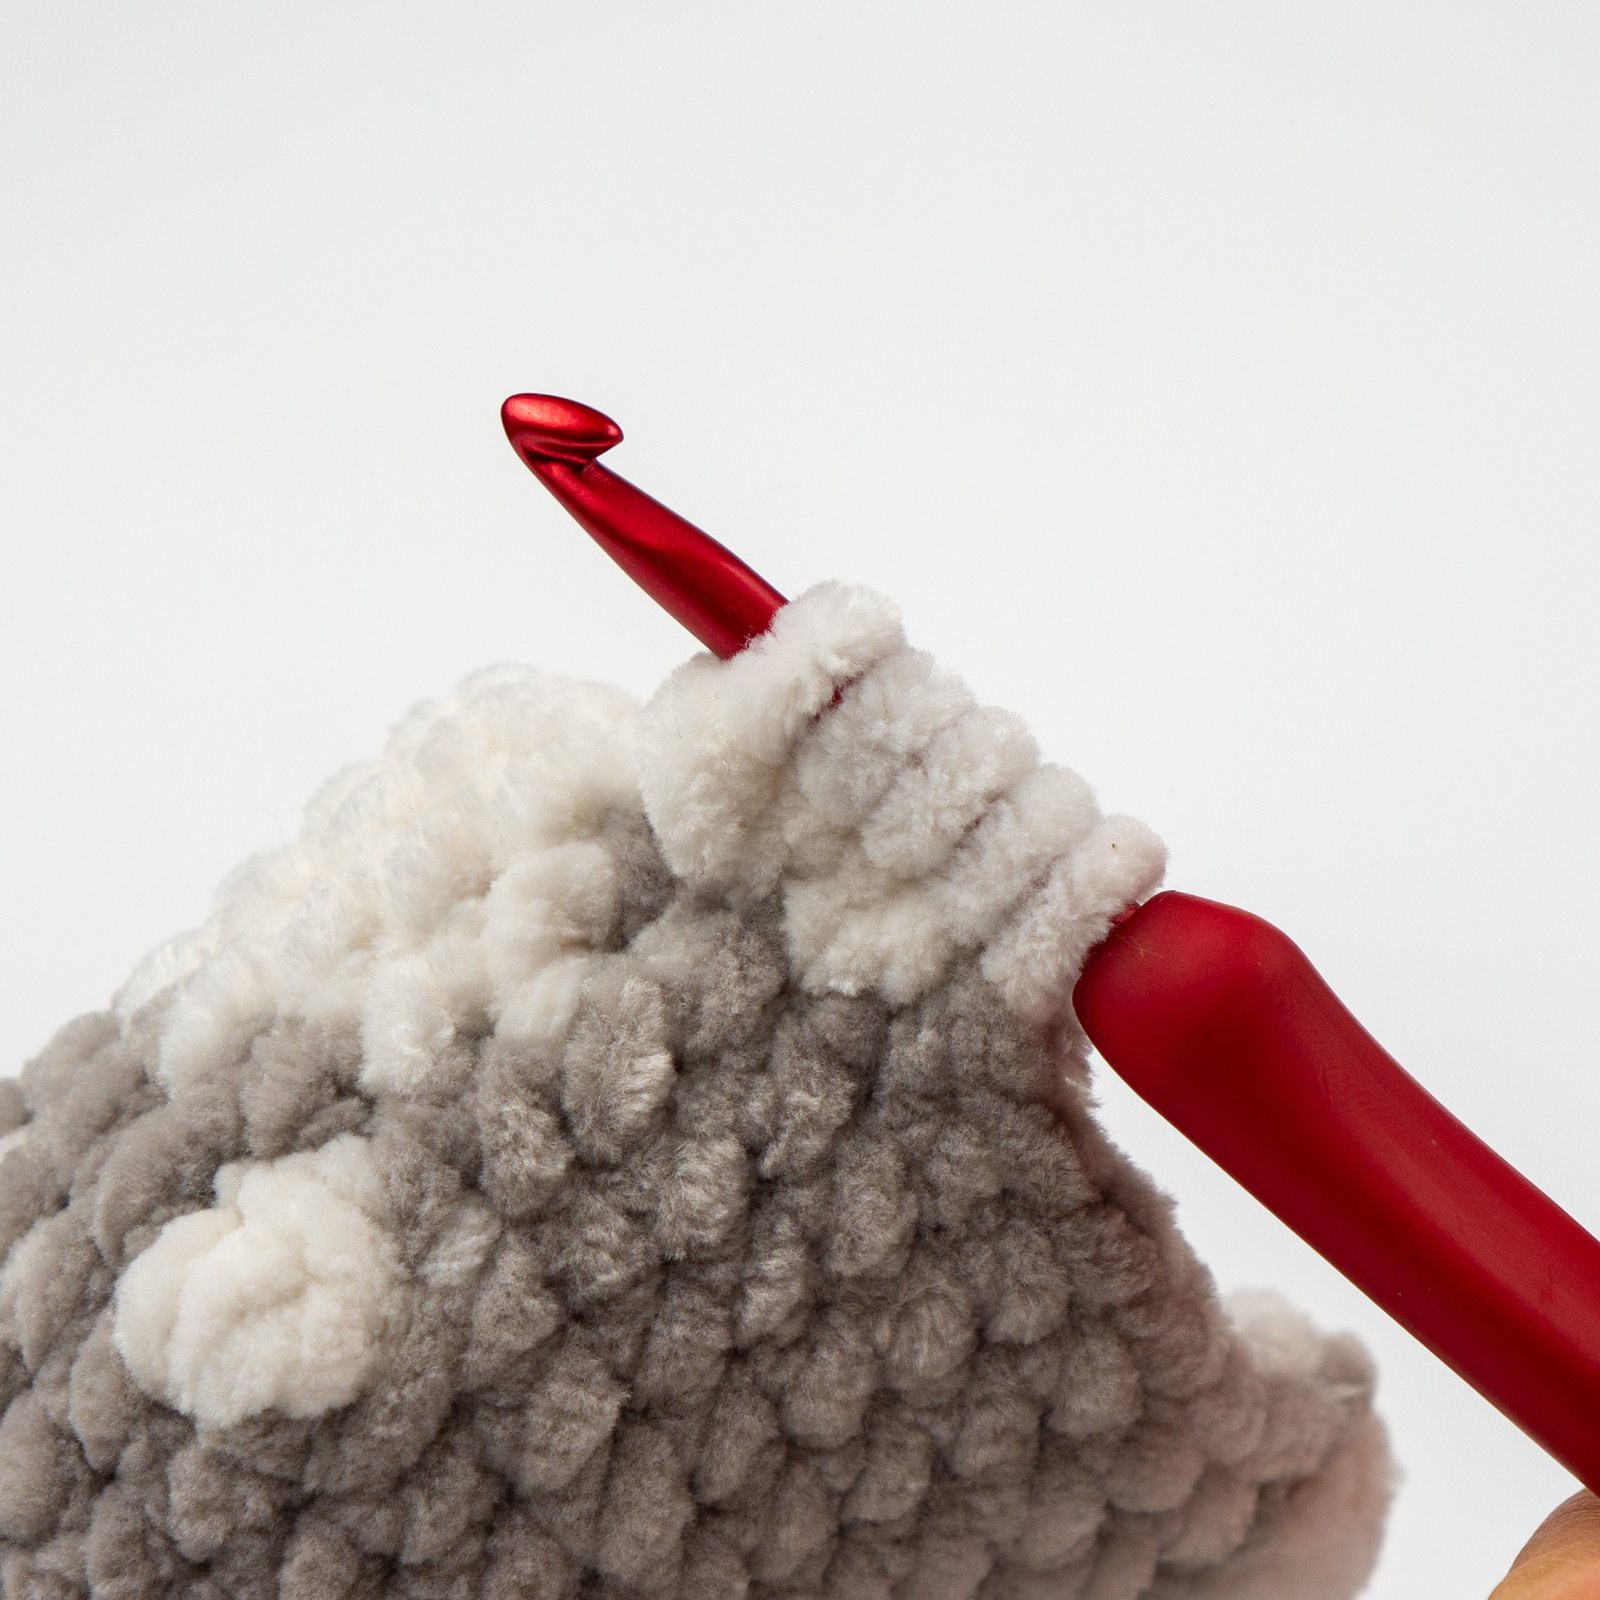 Pic. 10
Sewing
Sew the ears between Round 2 and 4.
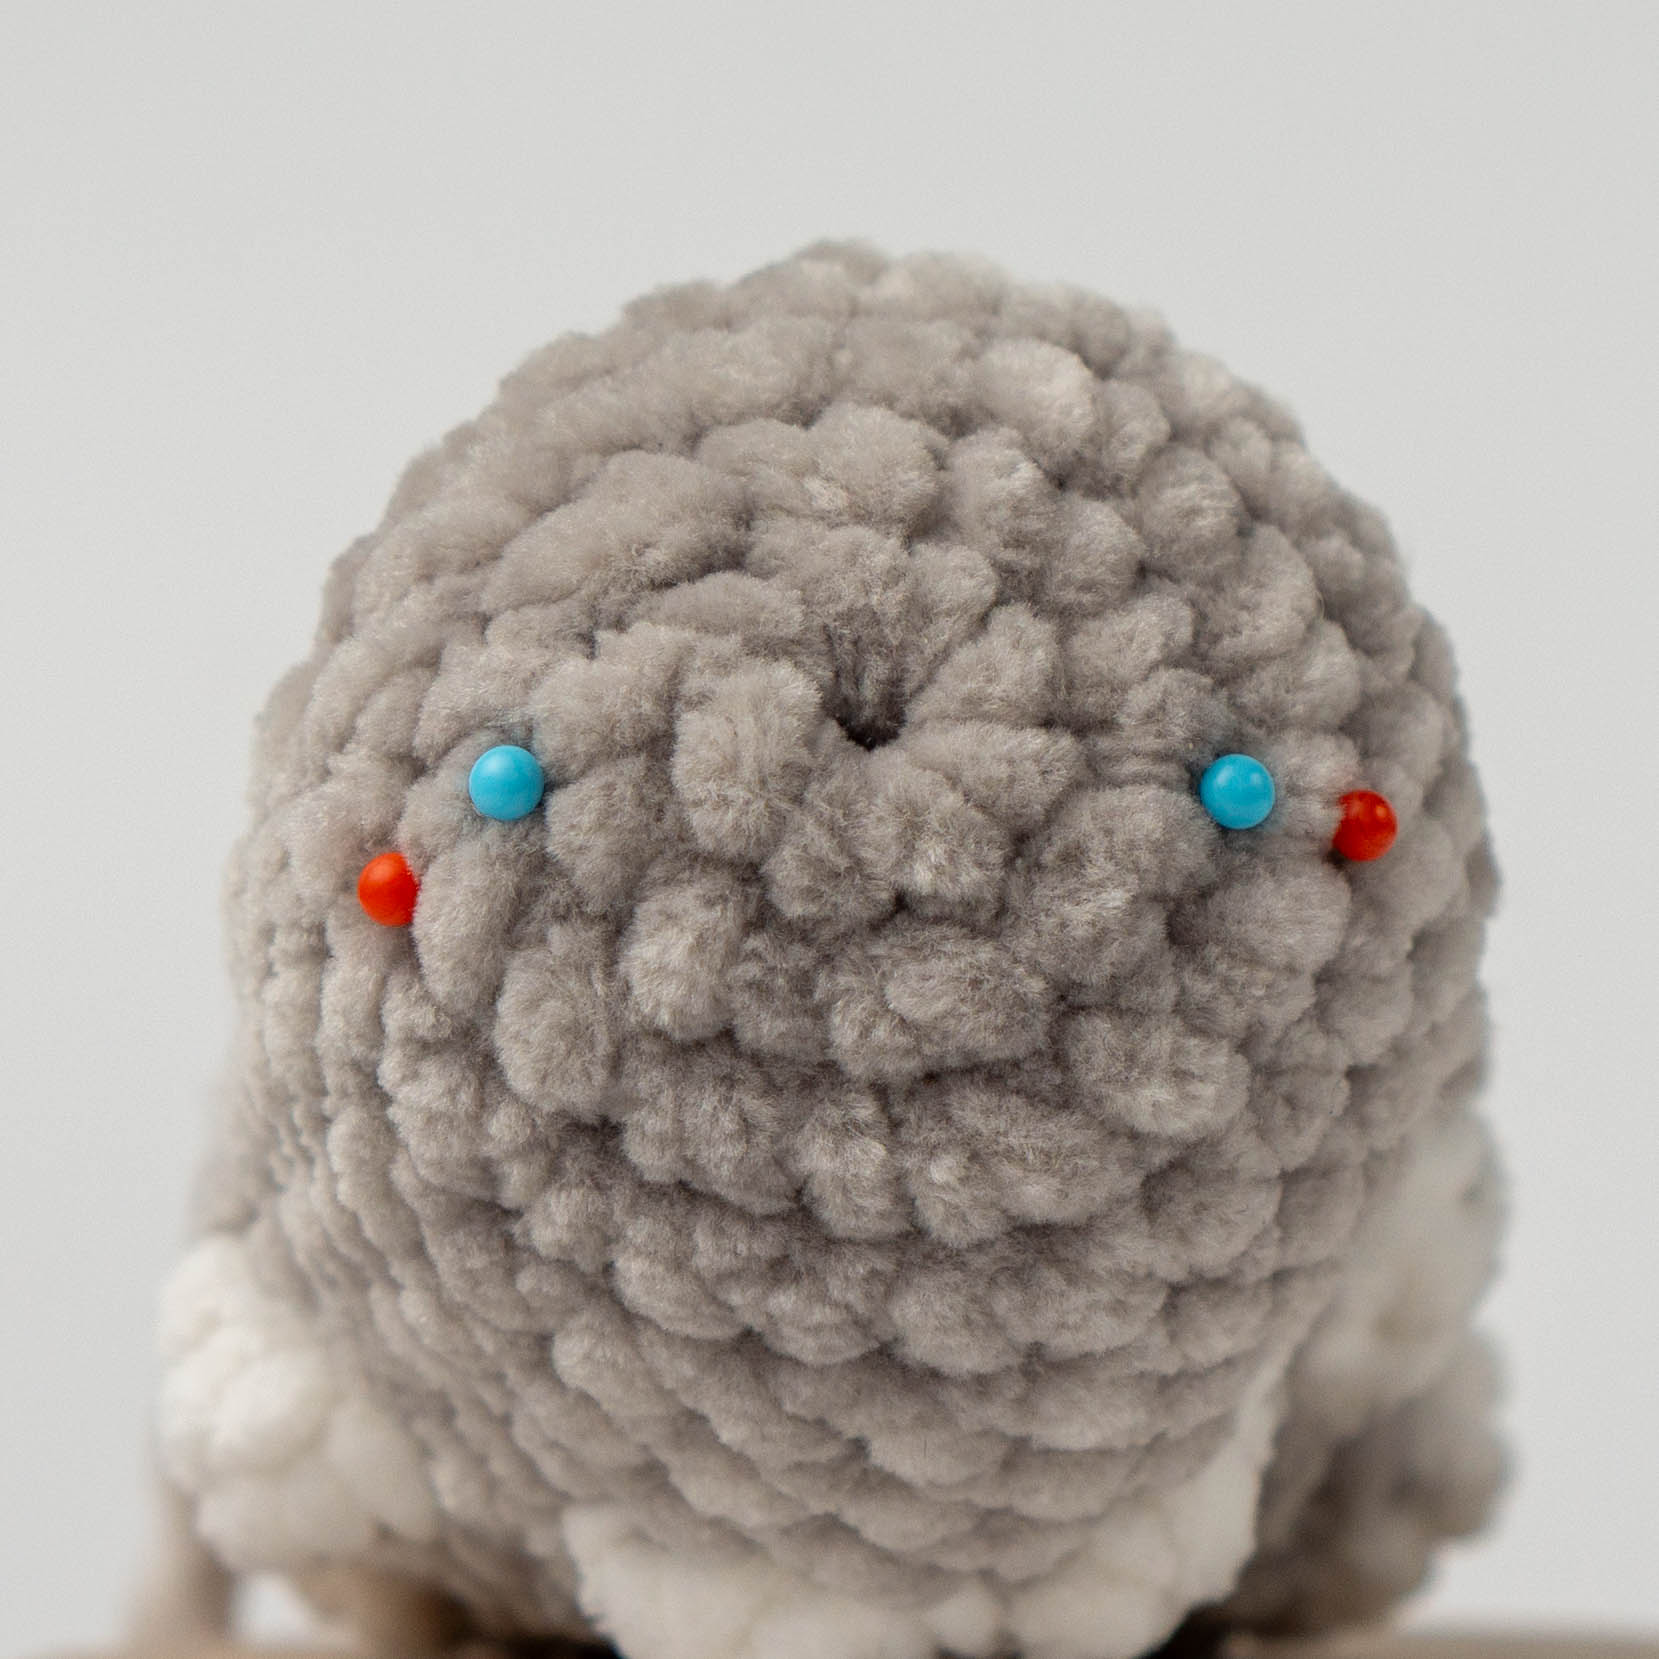 Pic. 11
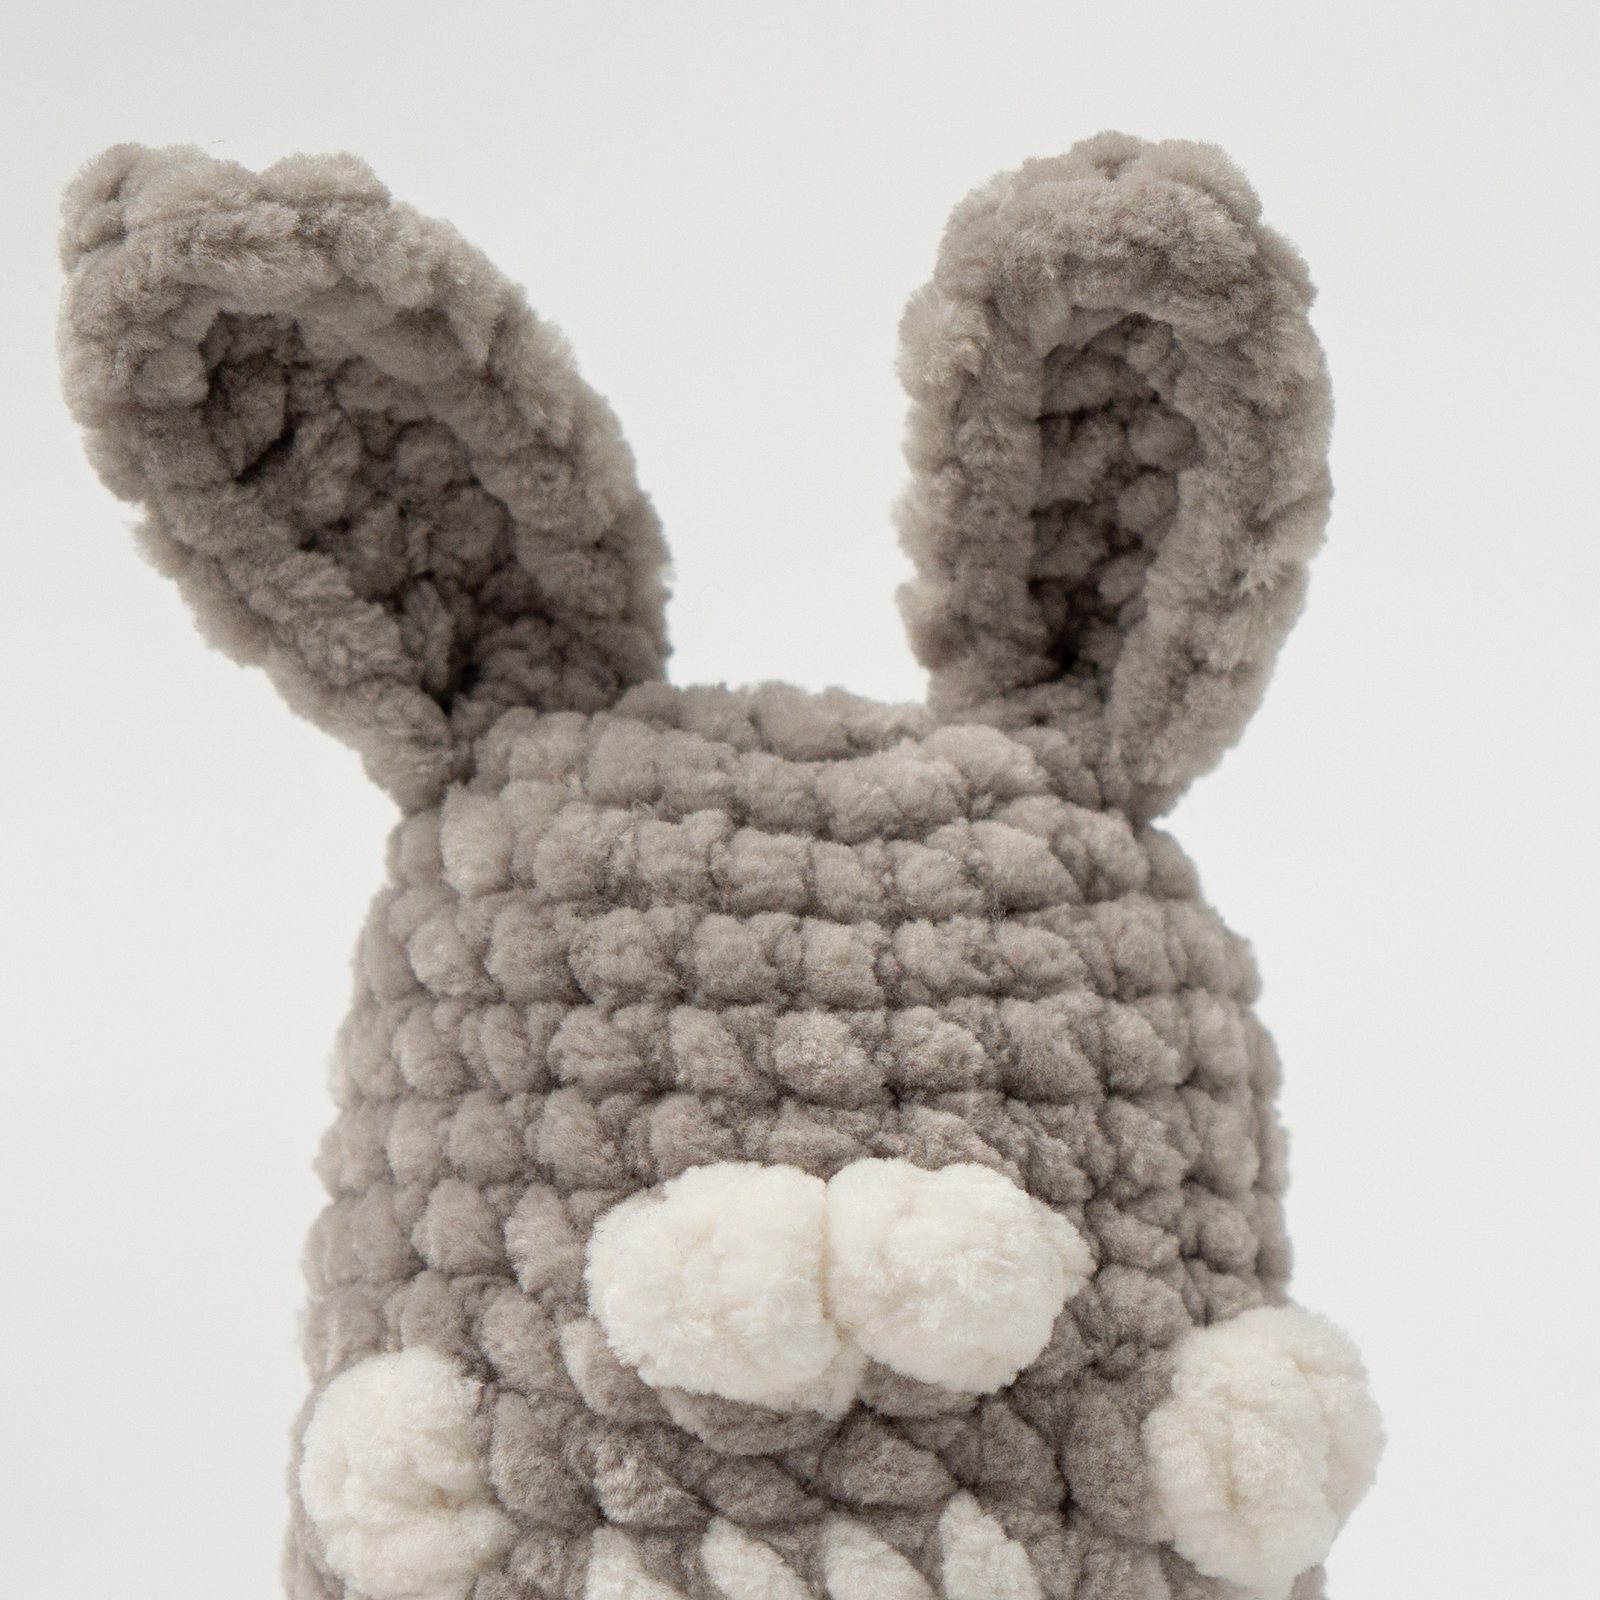 Pic. 12
Face Detail
- Embroider eyes on Round 6, spaced 3 stitches apart (4 rounds of thread) [Pic. 13]
- Embroider nose between Rnd 7 and 8 (5 rounds of thread). Make a vertical line from the middle of the nose 1 round down. [Pic. 14]
- Embroider brows between Round 4 and 6 as shown on photo [Pic. 15]
- Embroider blush with pink yarn between Rnd 7 and 8 [Pic. 16]
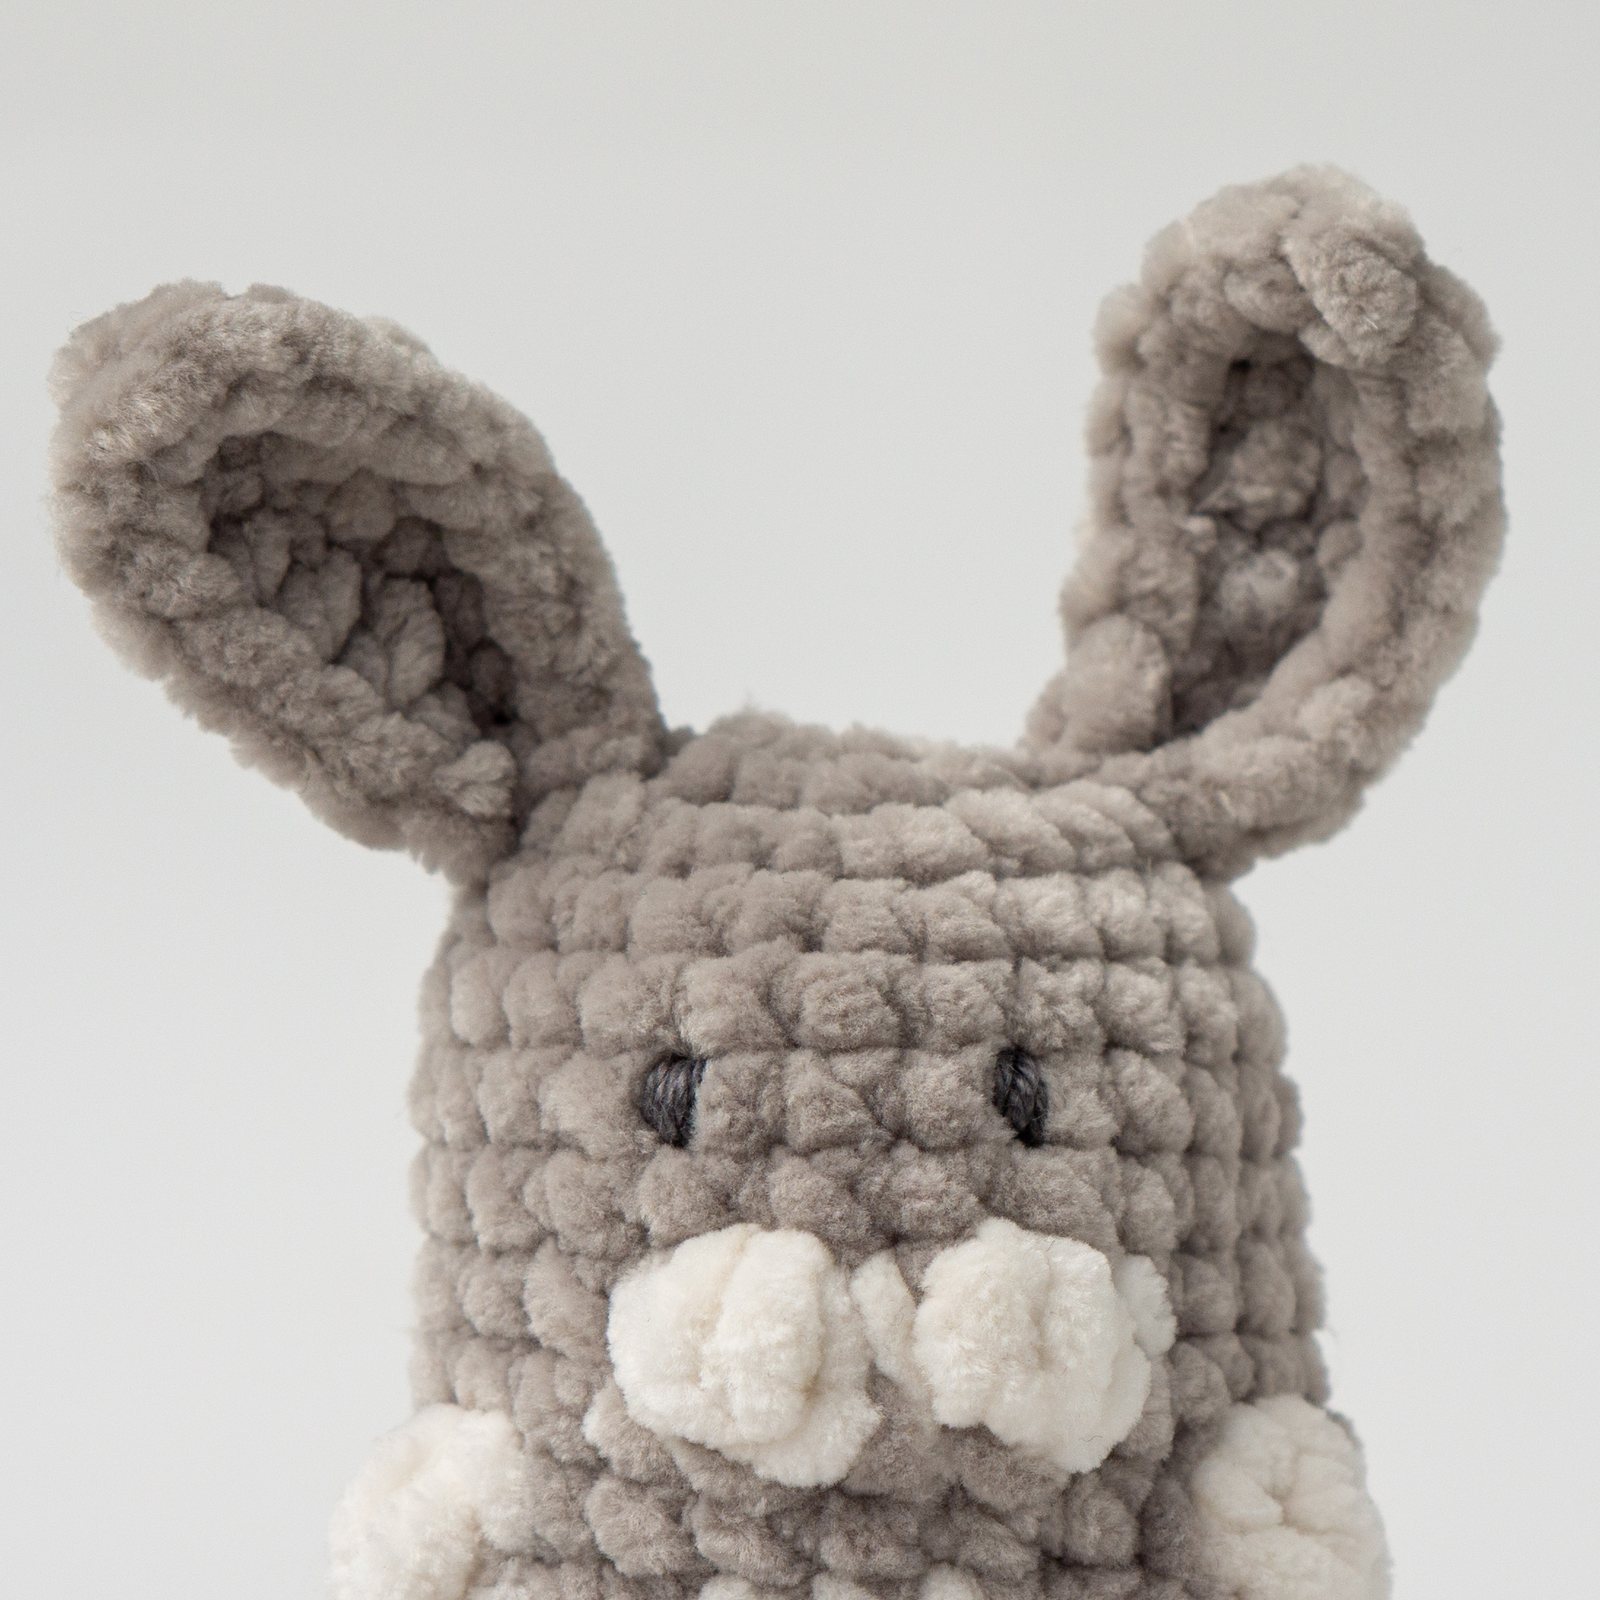 Pic. 13
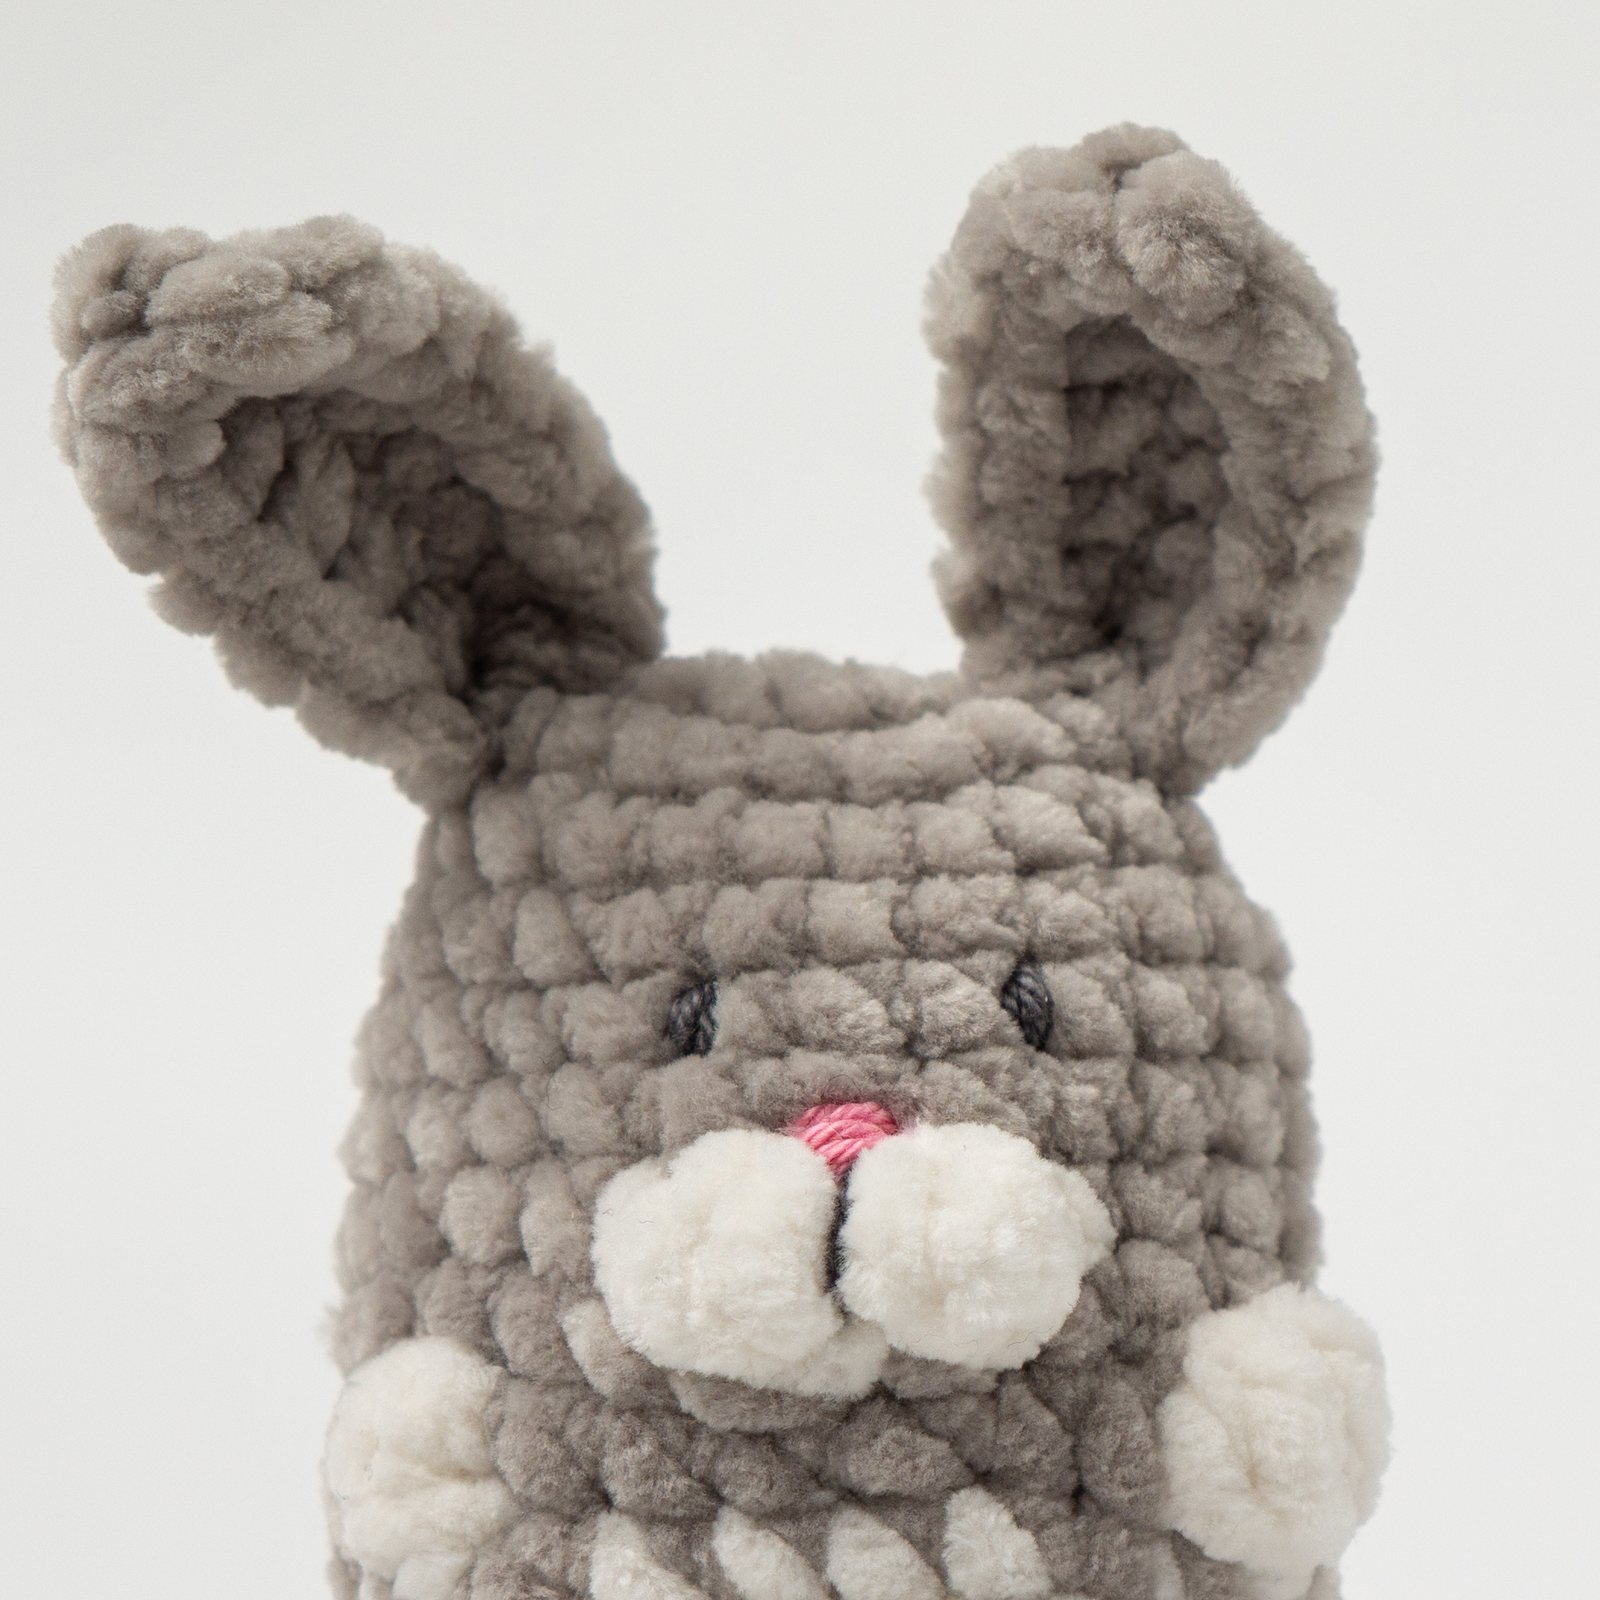 Pic. 14
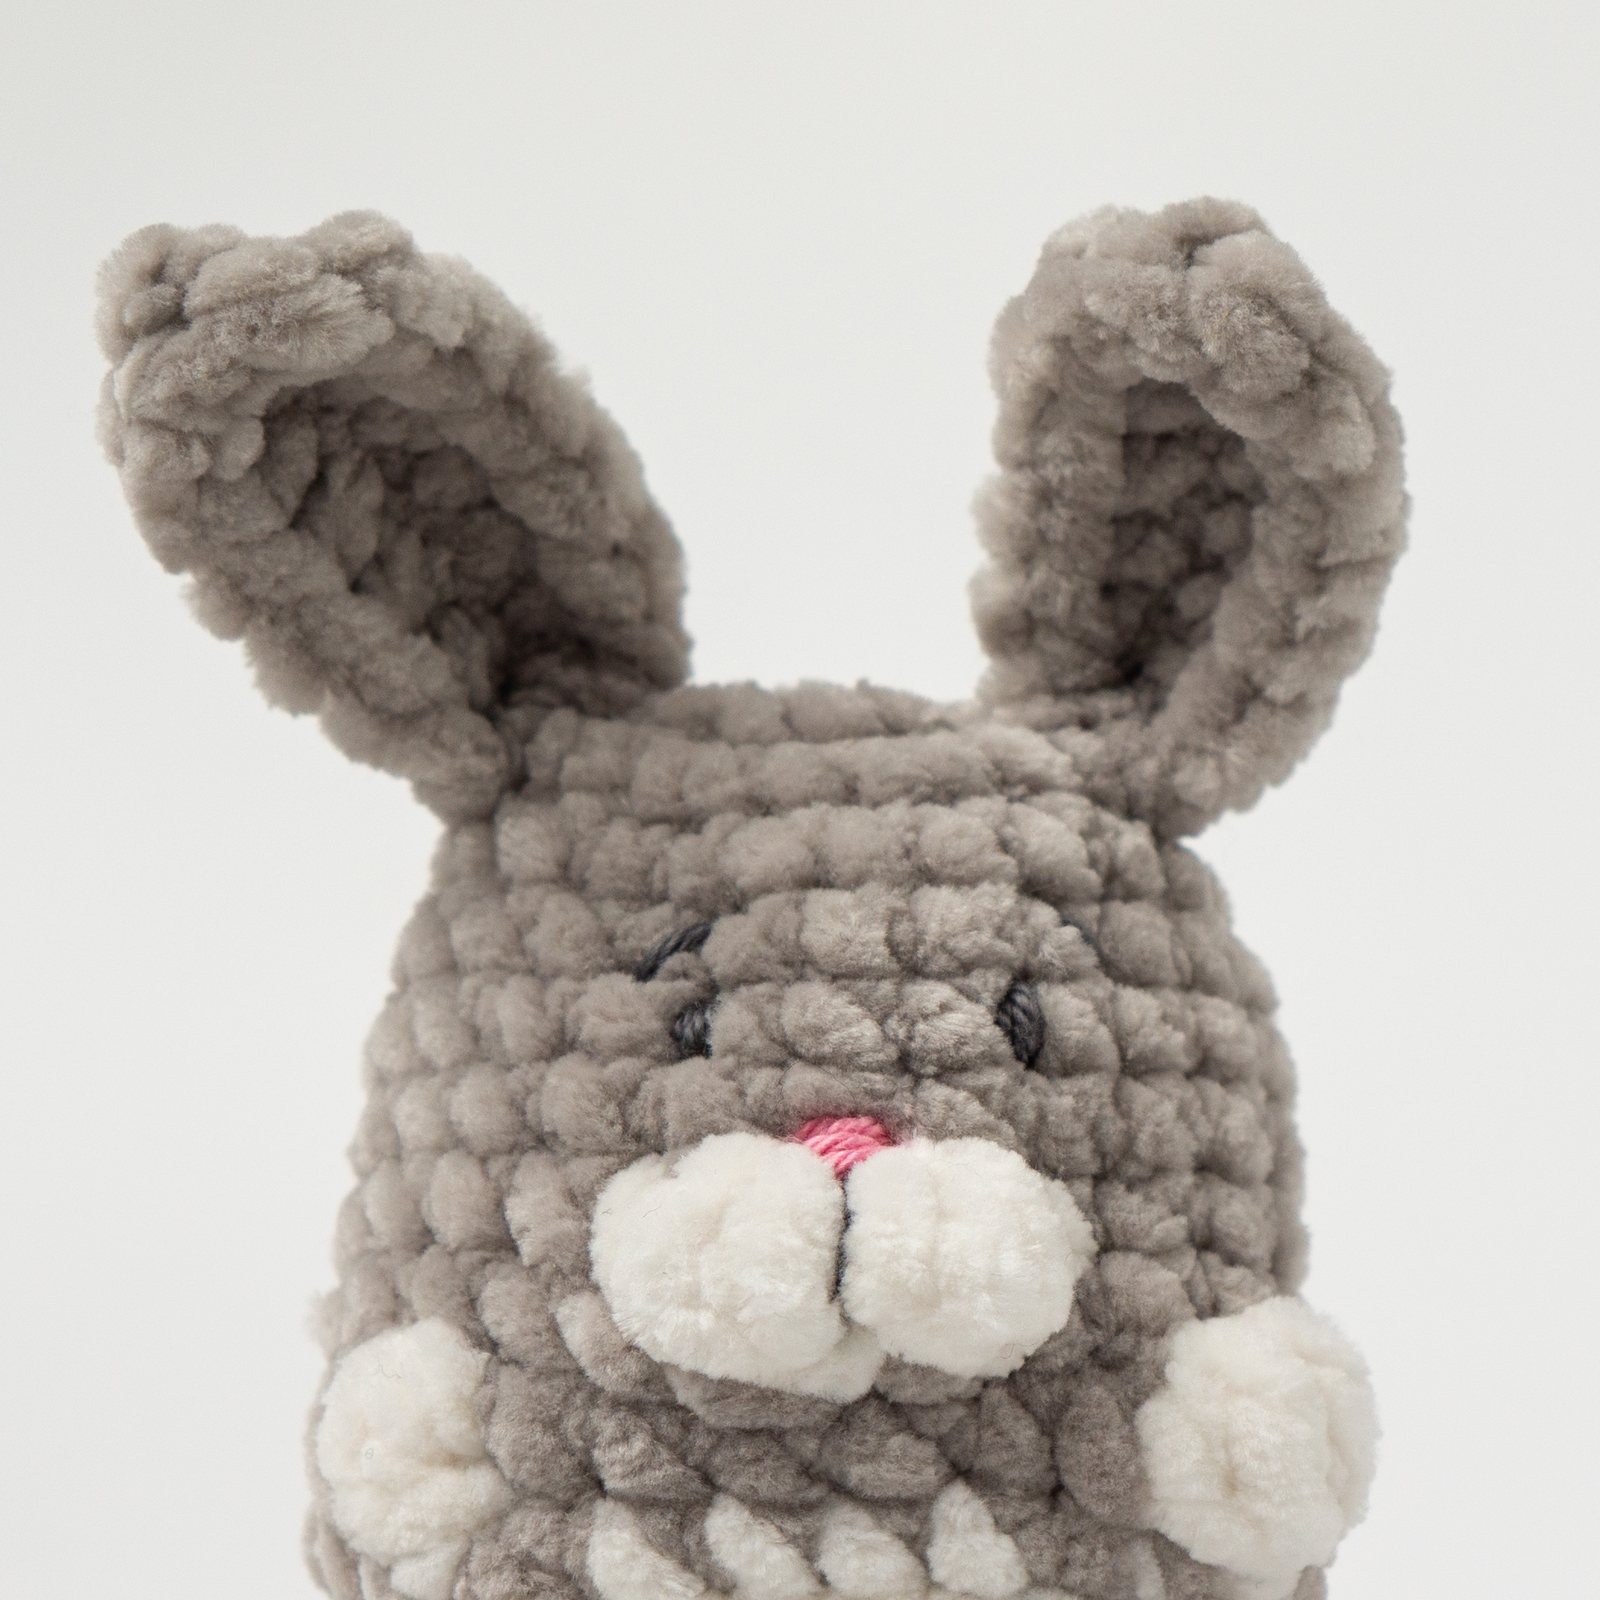 Pic. 15
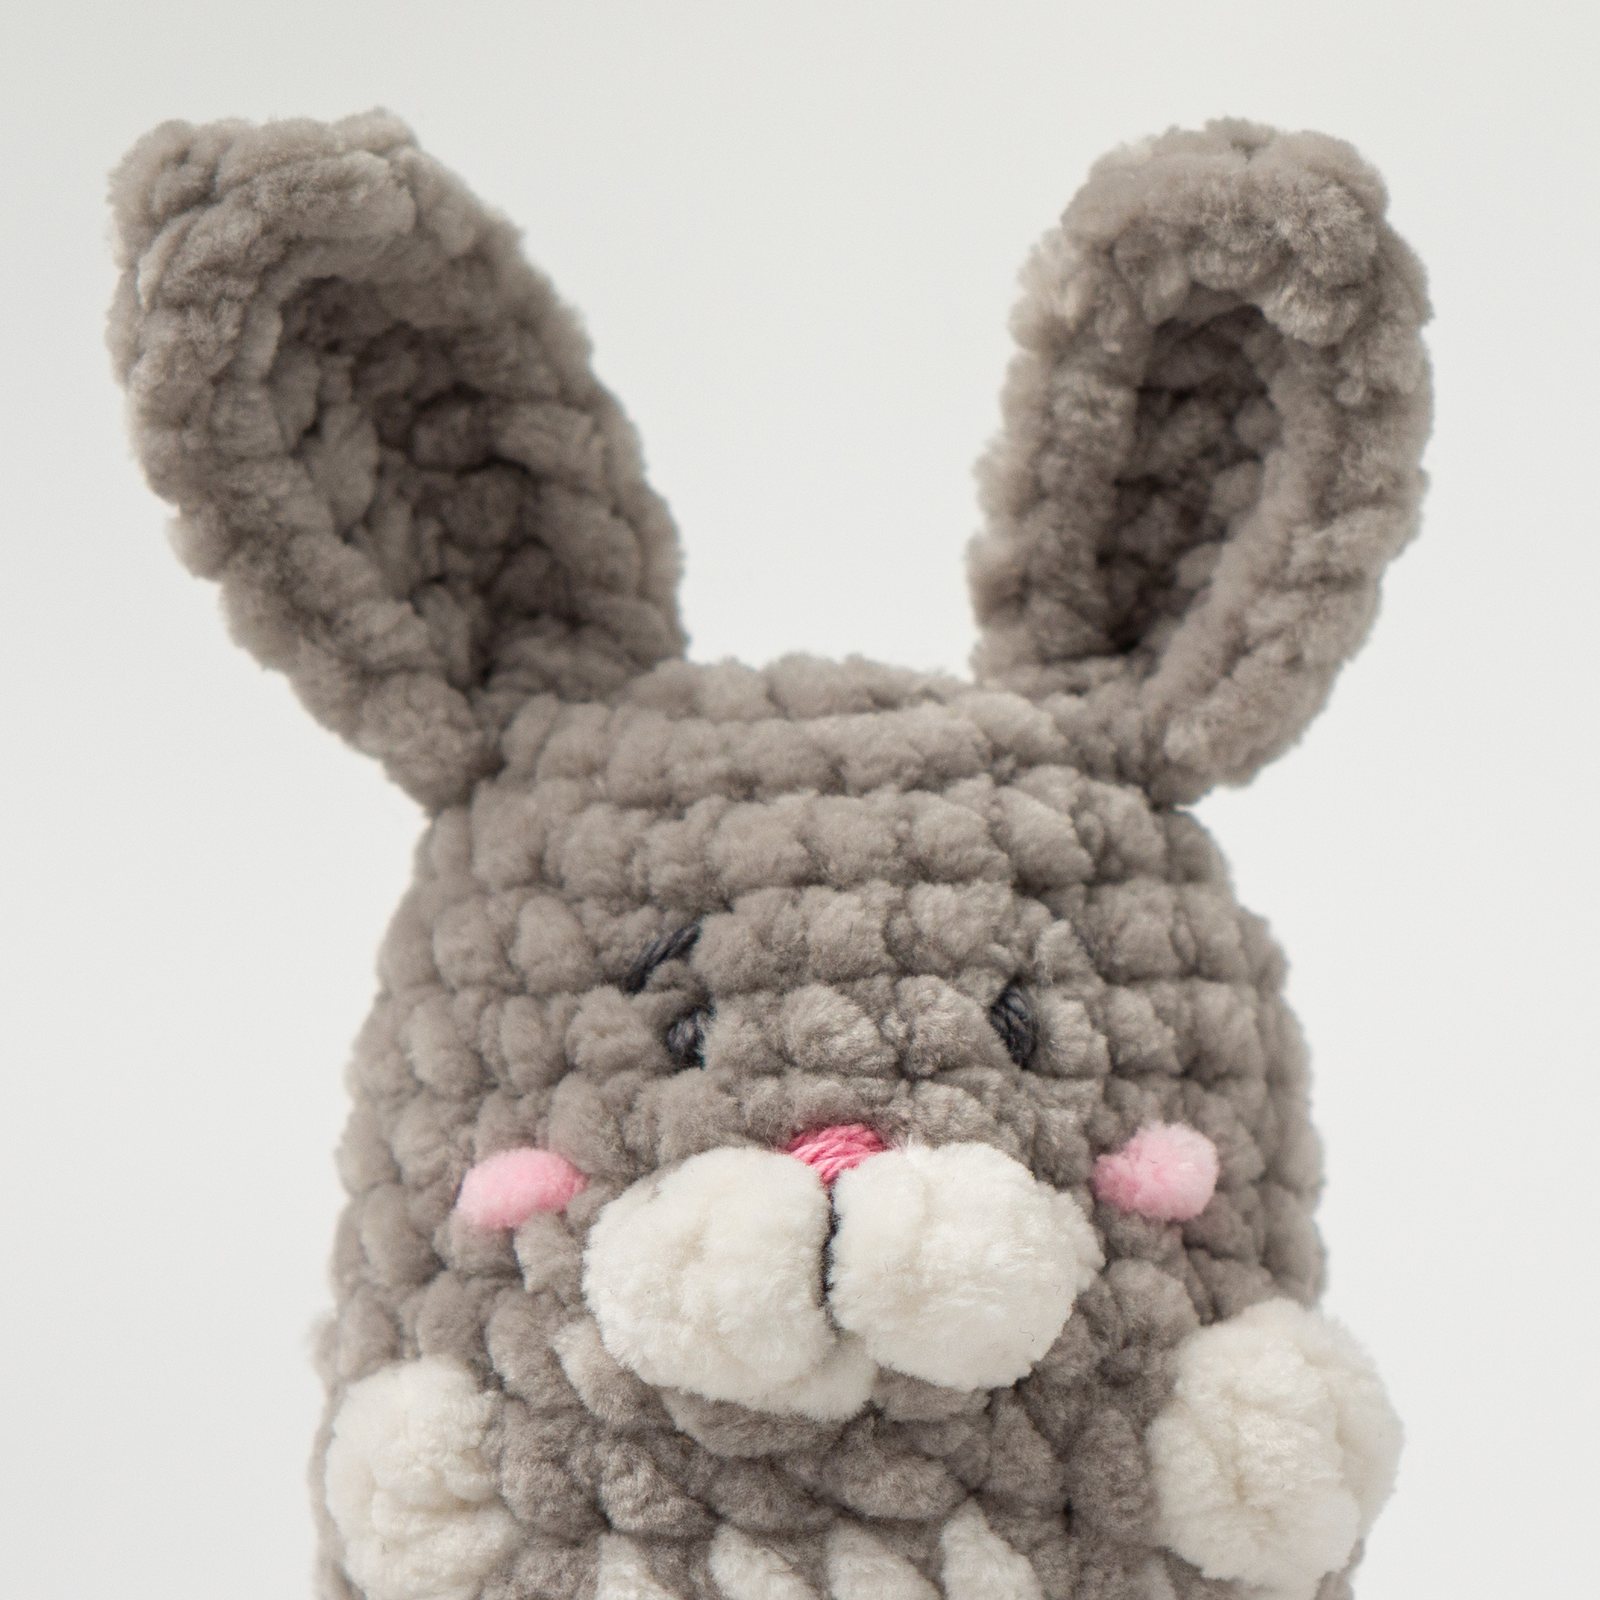 Pic. 16
Finishing the Plushie
Sew the carrot hat at the top of the head [Pic. 17].
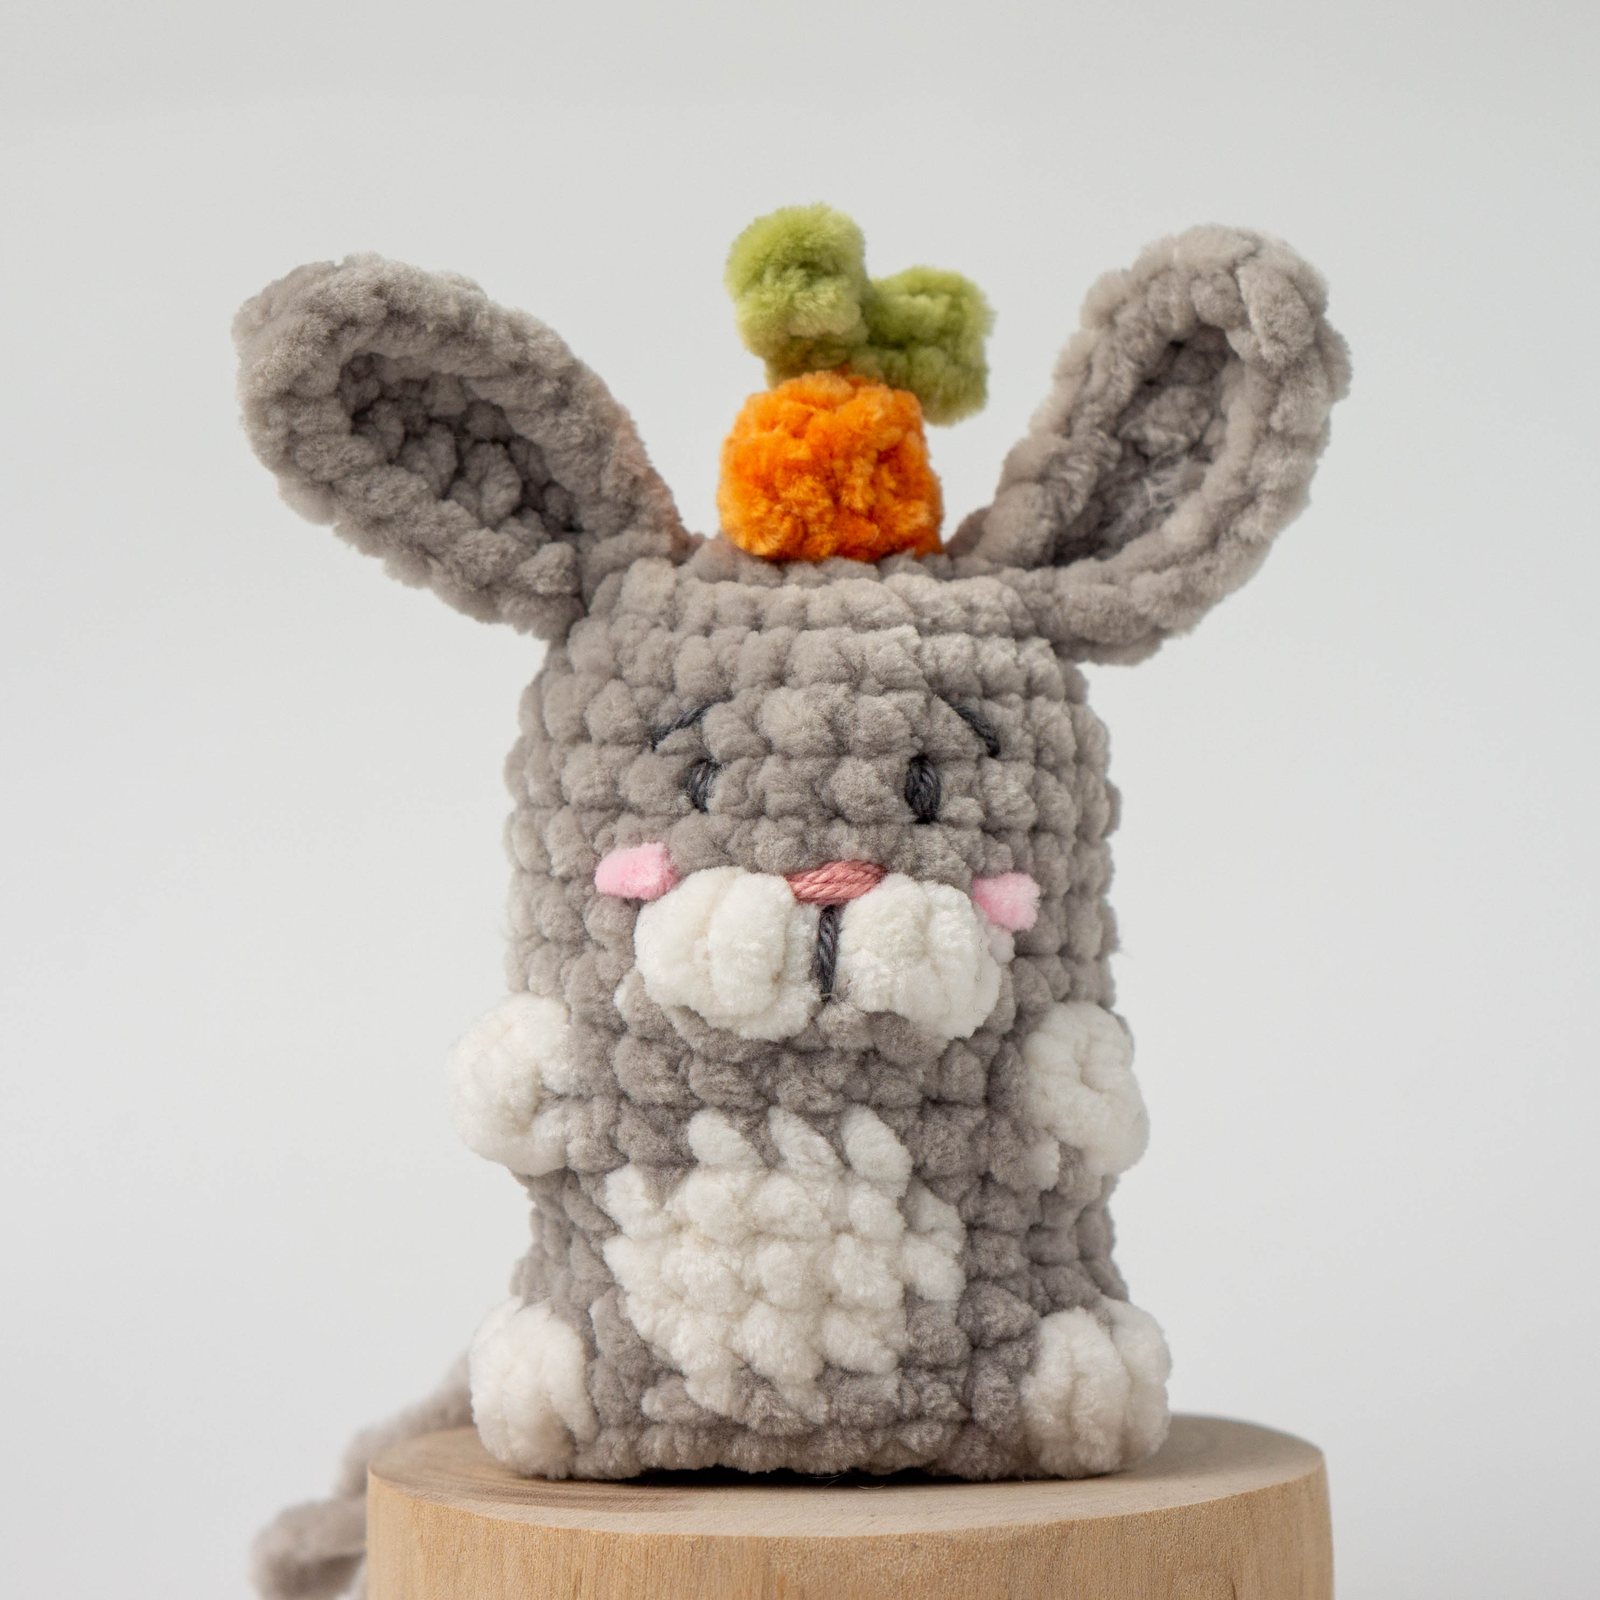 Pic. 17
Stuff with fiberfill, then continue closing:
- Rnd 16: BLO: 22sc [22]
- Rnd 17: 2sc, (sc, dec)*6, 2sc [16]
- Rnd 18: 8dec [8]
Fasten off and weave in ends.
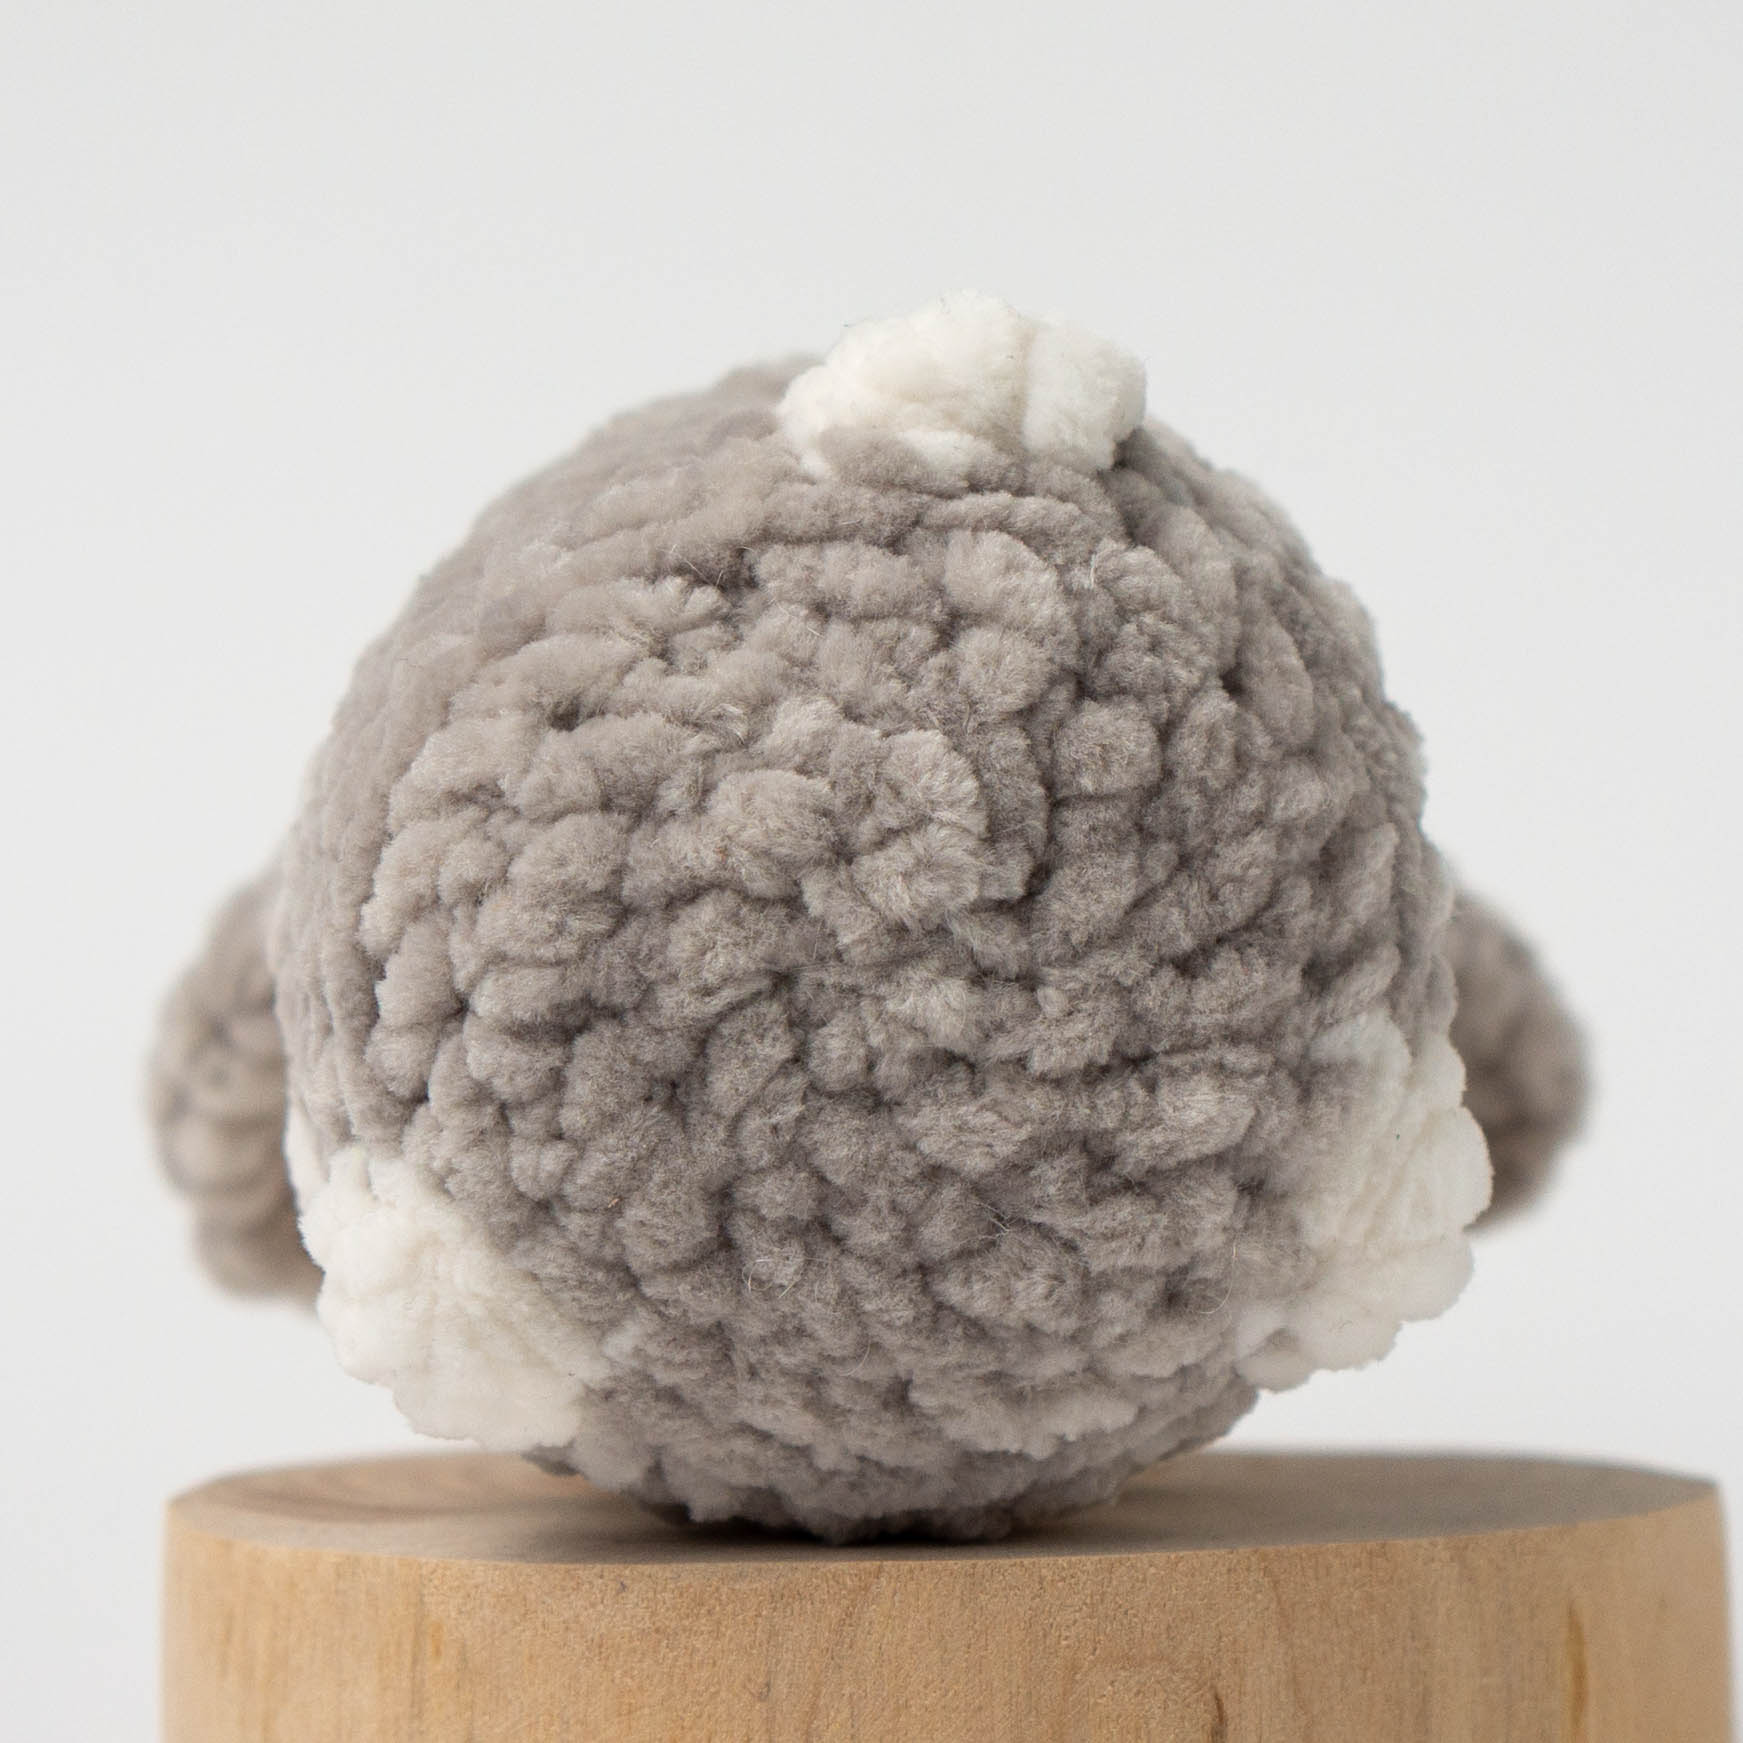 Pic. 18
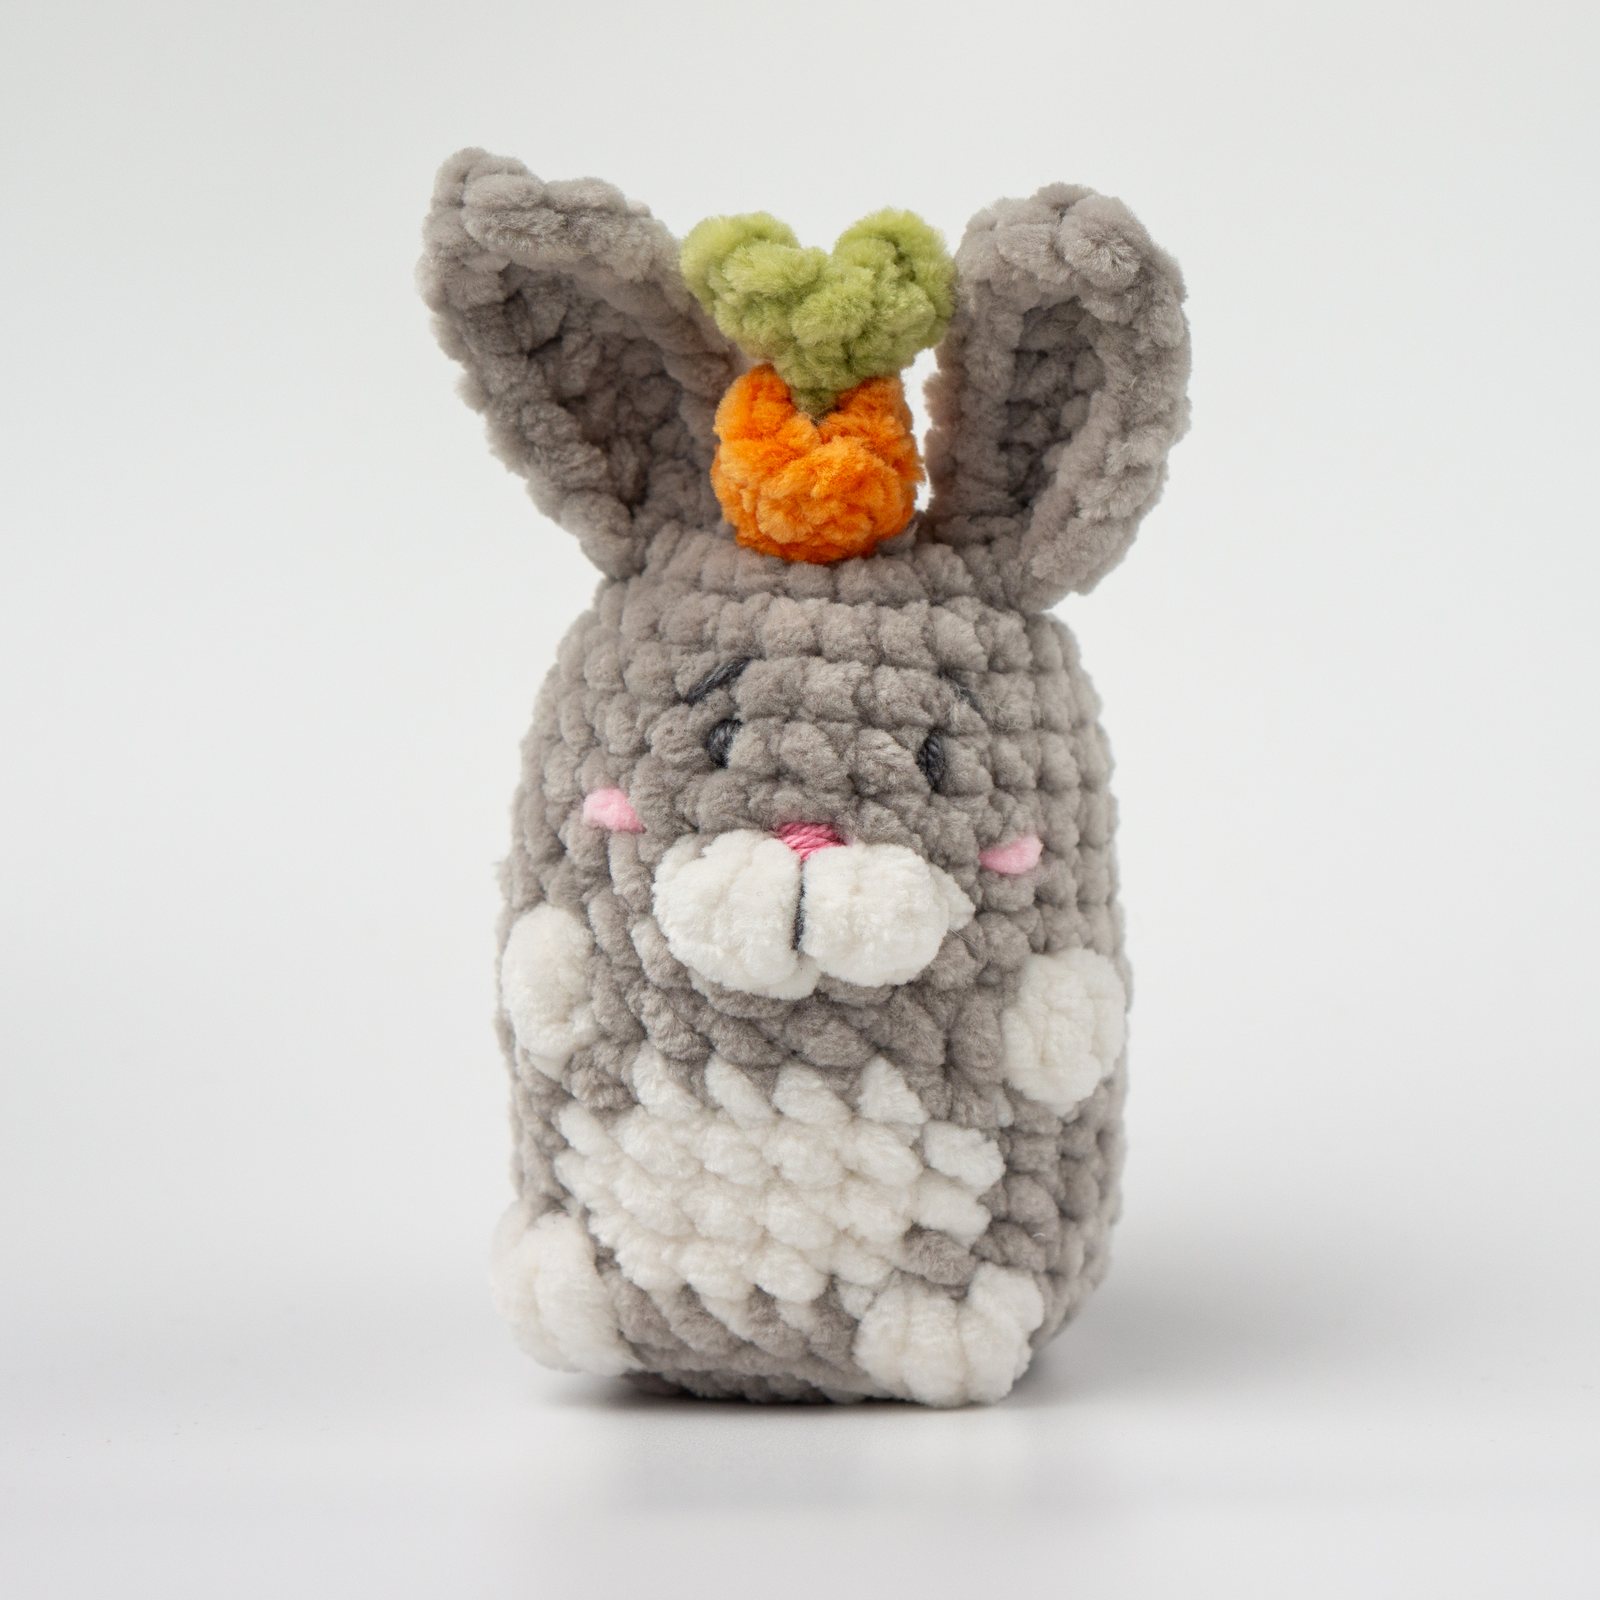 Pic. 19
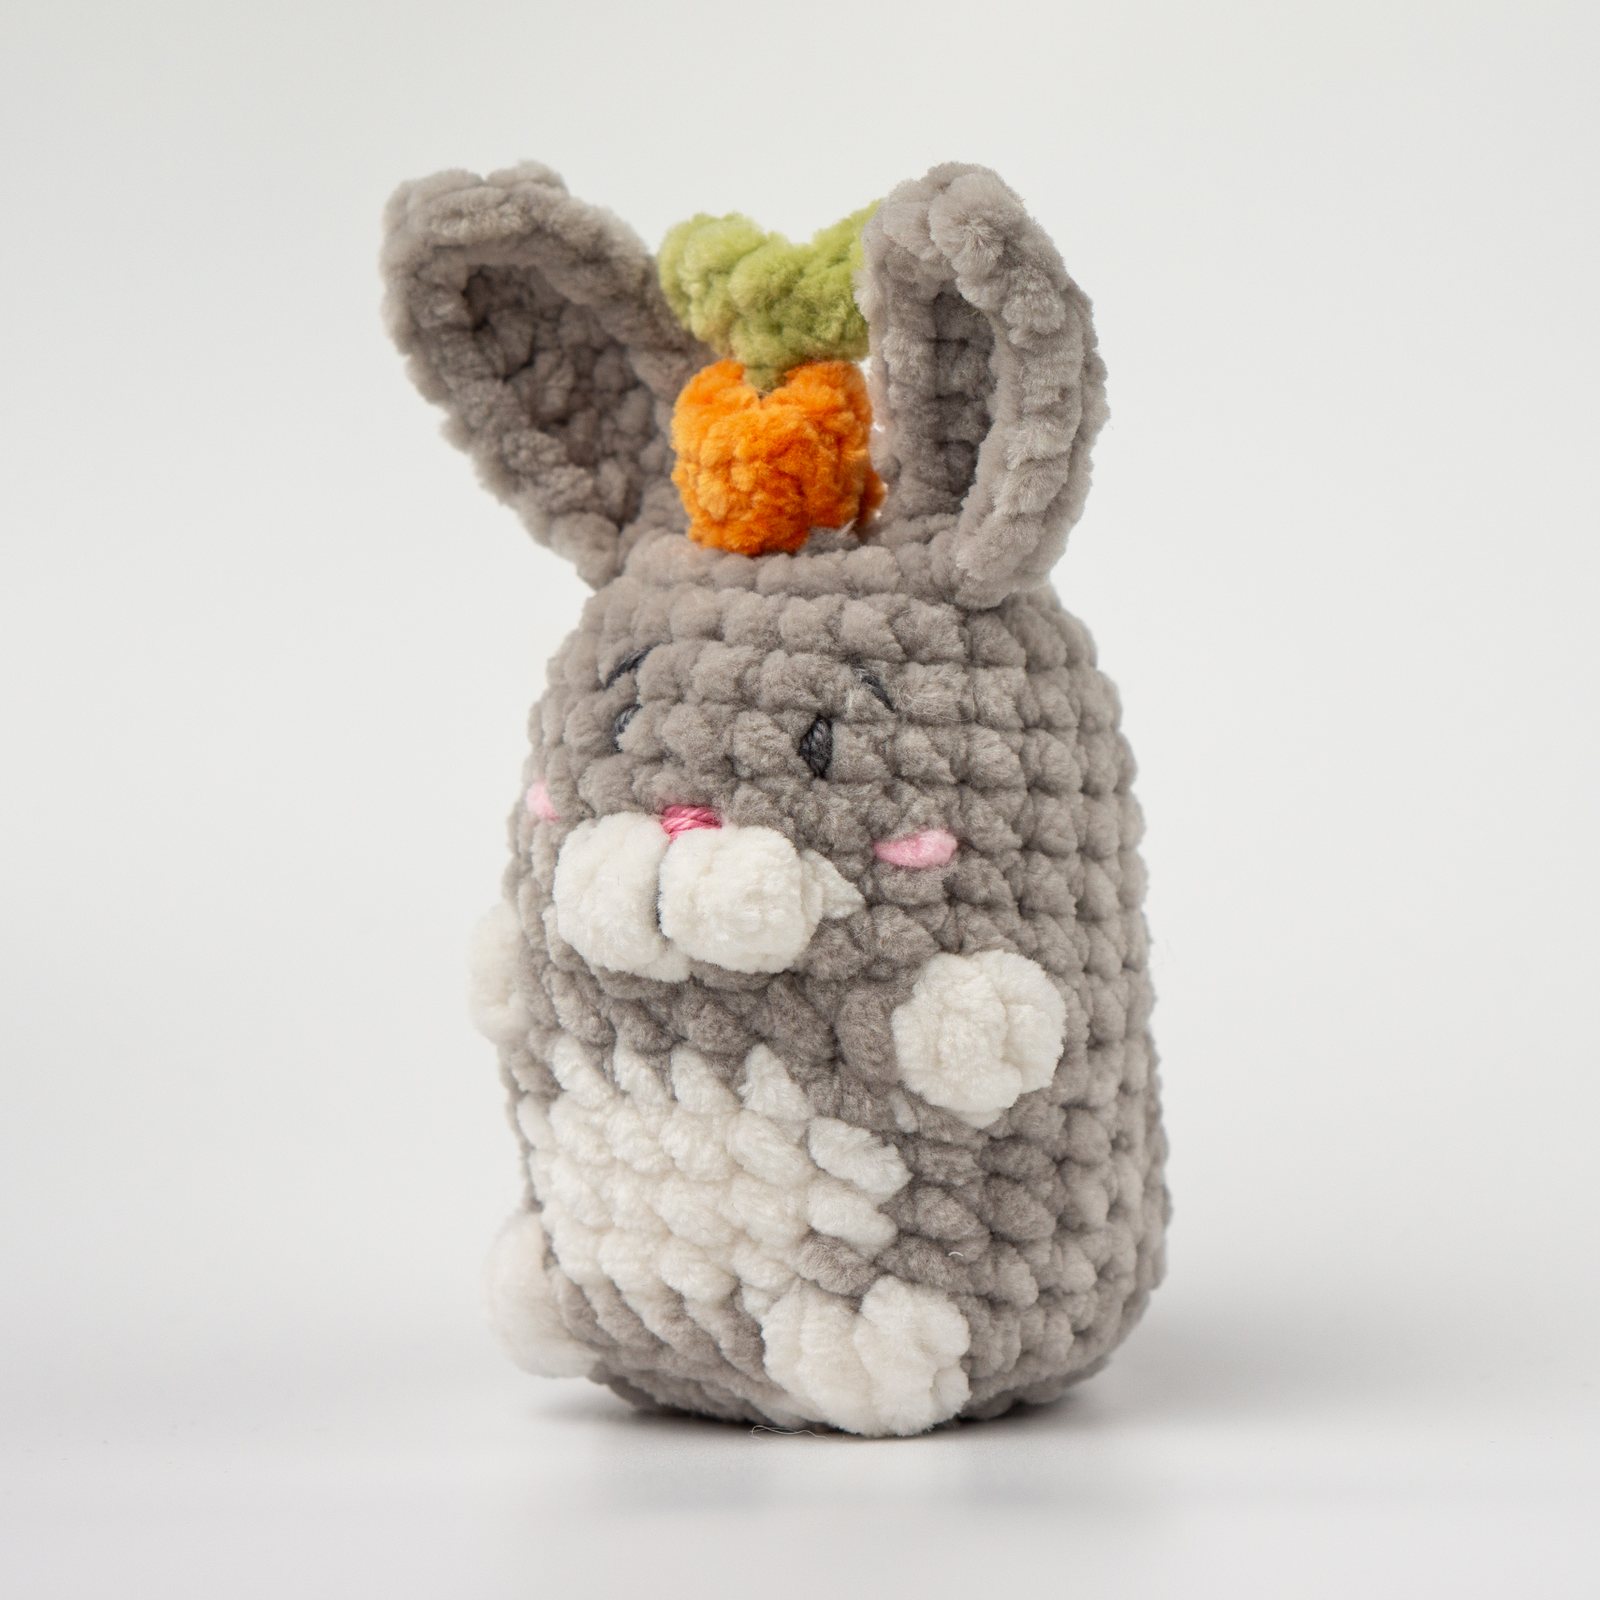 Pic. 20
Your little Easter Bunny is ready! He pairs perfectly with the free Chick and Sheep patterns from my Easter Bundle - all three together make the sweetest Easter set.
'Easter Bundle' pattern was published in 2026 © Amiomocha